Step 1
(Optional) Buff ornament to a matte finish using Matte Finish Buffing Blocks. Use medium grit to create a brushed matte textured surface. Hold buffing block in palm of hand and use even, smooth downward strokes to buff surface to a matte finish. Repeat until desired texture is achieved.
Step 2
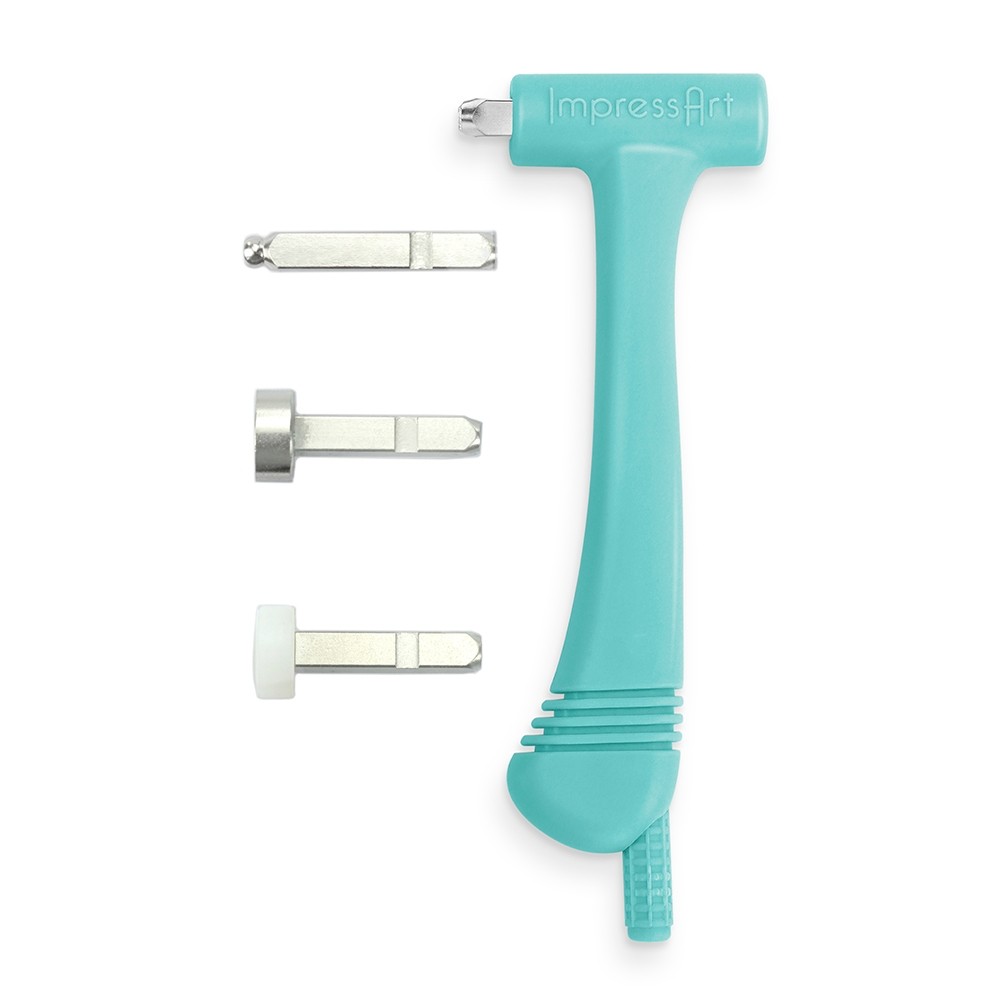
Place texture stamp of your choice in the Multi-Function Hammer, with the notch in the stamp facing down (when notch is available). Secure stamp in the hammer by tightening the screw at the bottom of the hammer.
Step 3
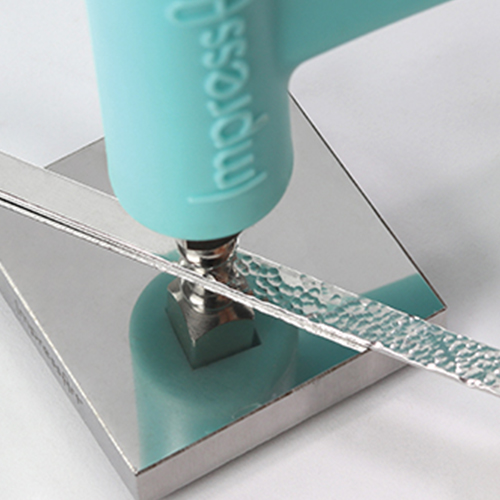
Place ornament on stamping block. Hold the hammer with your palm of your hand over the screw and use a couple of fingers, off to the side, to hold the ornament in place. Then stamp desired location on the ornament repeatedly with medium force until the location is textured to your preferred liking.
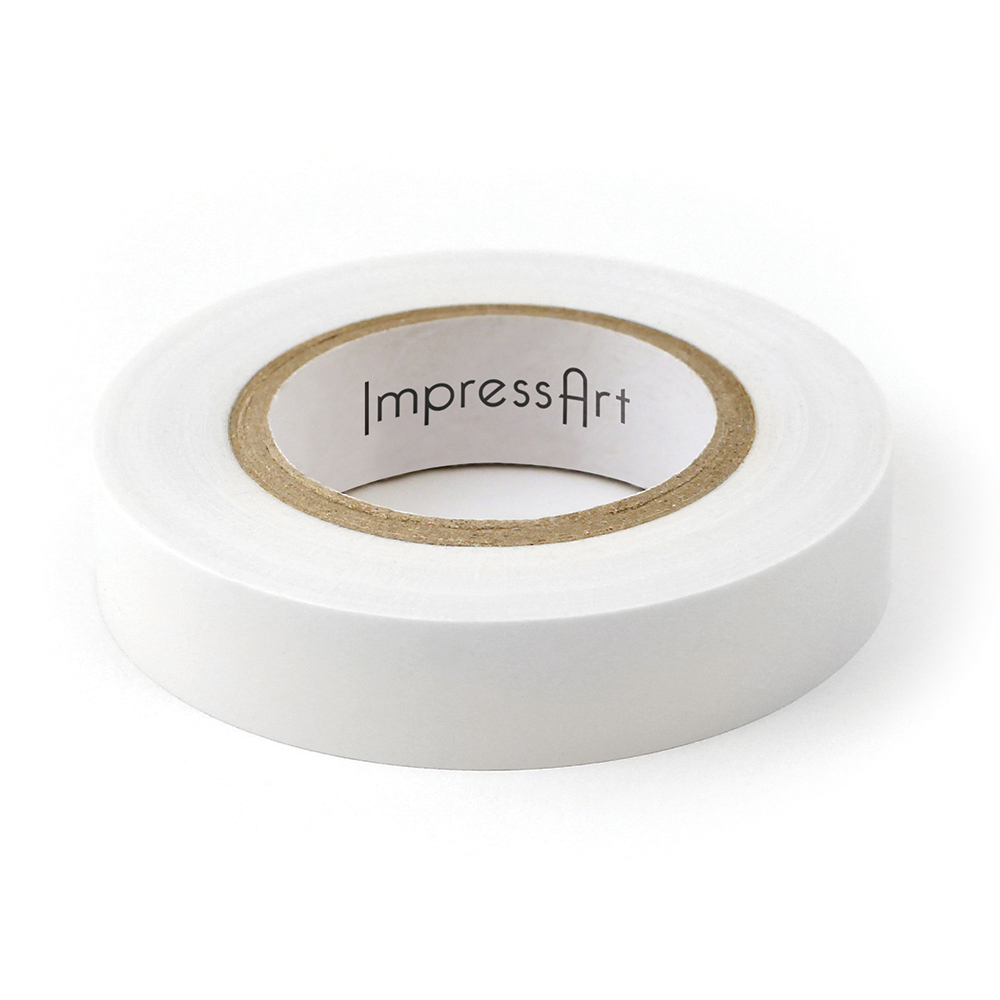
TIP: Use stamp tape to secure the ornament to the stamping block so it doesn’t move while texturing. You will be able to texture the ornament through the tape.
Step 4
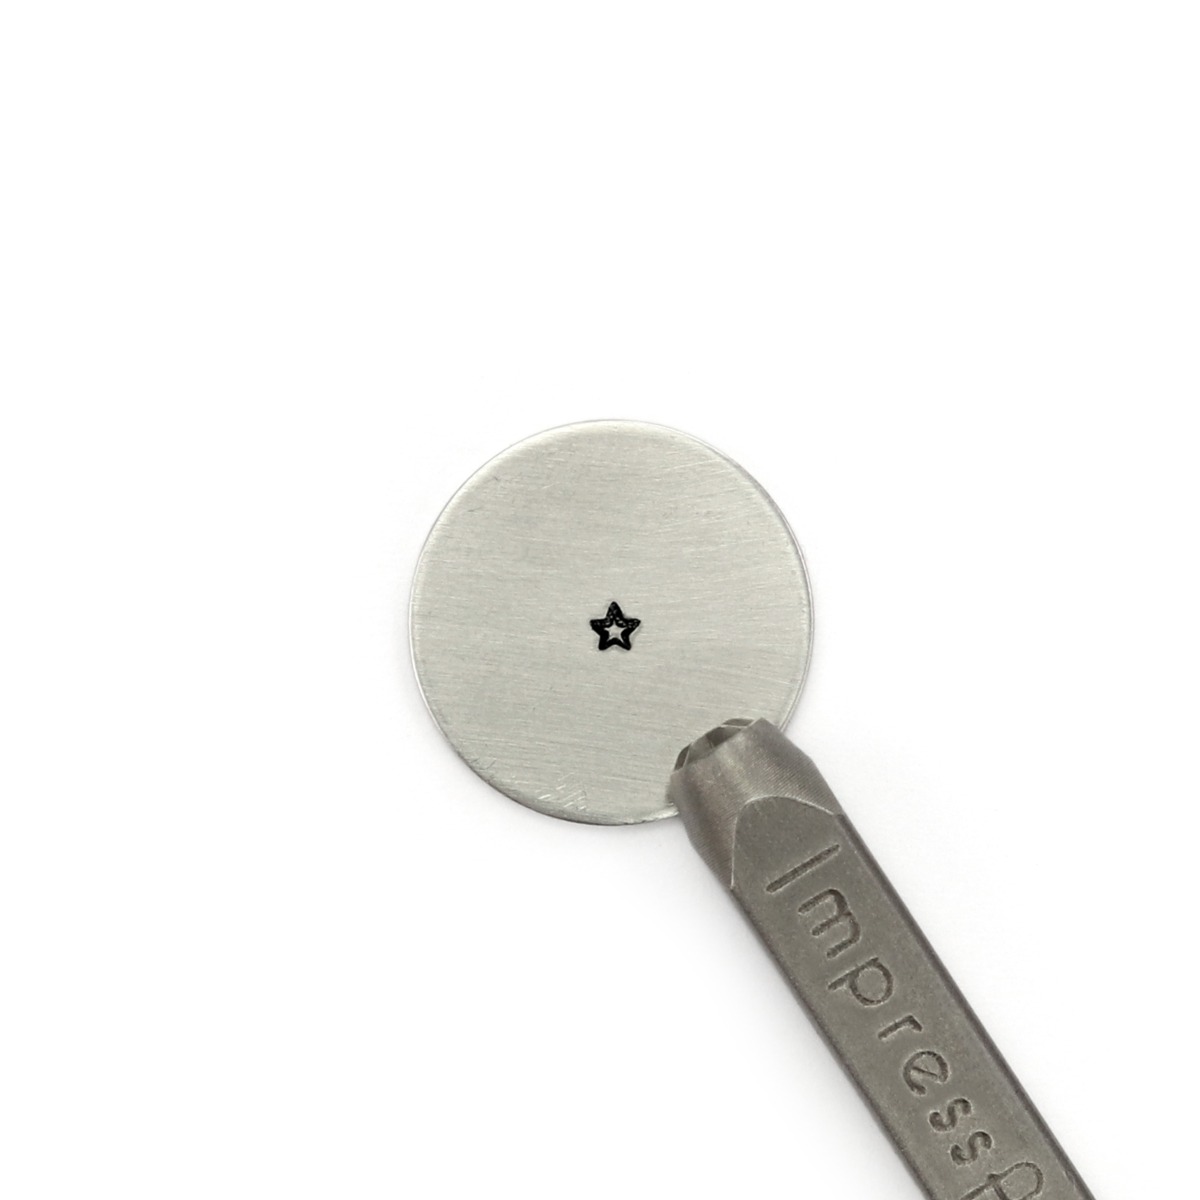
Stamp strands of lights using a dot stamp or a border stamp. Position stamp on the ornament. Hold stamp flat and firmly in place by anchoring the side of your hand on workspace. Then strike the stamp once with medium force using Metal Stamping Hammer. Repeat until ornament is stamped with lights.
To line up border impressions, tilt stamp to determine placement then rock stamp back until it's flat.
TIP: Use the Tilt & Tap technique to stamp 6mm and larger stamps, or stamps with more details. While applying pressure to the stamp, strike once with medium force. Then without lifting stamp, continue to strike while very slightly tilting the stamp in a circular motion to catch all sides of the design.
Step 5
After stamping the name, move the straight stamp guide and repeat the technique to finish stamping any names.
TIP: If stamp guide becomes unusable due to rips or markings, then use a new straight stamp guide to complete the project.
Step 6
Place stamp on the ornament, above the corresponding mark on the stamp guide. Lightly drag stamp towards the guide until the stamp catches the edge of the guide. Hold stamp flat and firmly in place by anchoring the side of your hand on workspace. Then strike the stamp once with medium force using Metal Stamping Hammer. Repeat to complete desired word.
TIP: If the stamp has an ImpressArt logo, make sure it is facing you so that the impression is stamped in the correct direction.
TIP: Slightly tilt the stamp towards you while dragging the stamp towards the guide. Make sure you hold the stamp flat and firmly in place before striking the stamp.
NOTE: For lowercase letters g, j, p, q, y: Place bottom of the stamp on the thin horizontal blue line that runs through the guide marks.
Step 8
Decorate the holiday tree by stamping ornaments, date, and other design stamps.
TIP: You can camouflage and draw attention away from any misaligned curved light strands using the design stamps.
Step 9
For a spark of color, stamp desired design details with the crystal setter.
Hold crystal setter flat and firmly in place on the stamping blank. Strike with medium force using metal stamping hammer until a round indentation is formed in the stamping blank. The indentation should be deep enough so that the edges of the crystal are set in the divot and the top of the crystal protrudes out from the blank.
Step 10
Buff stamped ornament to a brilliant, high-shine finish using High Polish Finish Blocks. Use fine grit to quickly clean and polish blanks. Hold buffing block in the palm of the hand and move the block in even, back and forth strokes to remove dirt and dried enamel left on the raised surfaces. Use extra fine grit for buffing to a high shine. Hold buffing block in the palm of hand and buff in tiny, back and forth strokes with light pressure to get a mirror-like shine.
Step 12
Secure flat back crystals inside stamped divot impressions with jewelry adhesive, and allow to dry. Use tweezers to help set crystals in place, making sure not to scratch the crystals.
Step 13
Attach a ribbon to the top of the ornament using a Lark’s Head Knot. Fold the length of the ribbon in half at the center. Take the fold and slide it through the hole in the ornament. Take the two ends of the ribbon and pass them through the loop made by the fold of the ribbon. Pull tight to secure the ribbon to the ornament.


