Step 1
Use a non-permanent marker to sketch a sugar skull outline design on the 2" x 6" strip.
Step 2
Cut the sugar skull design out using a jewelers bench pin and jeweler's saw, making sure that the blade is lubricated and you are using a steady upward and downward motion. You can also use metal shears and a flush cutter to get into any small spaces.
Use protective goggles/glasses and apron to protect yourself from metal dust when cutting stamping blanks.
Step 3
Use coarse grit on the Matte Finish Buffing Block to soften any sharp edges. Hold the buffing block in the palm of hand and use downward strokes with moderate pressure to file sharp edges. Repeat until edges are smooth to touch.
NOTE: Be sure not to scratch the surface of the blank.
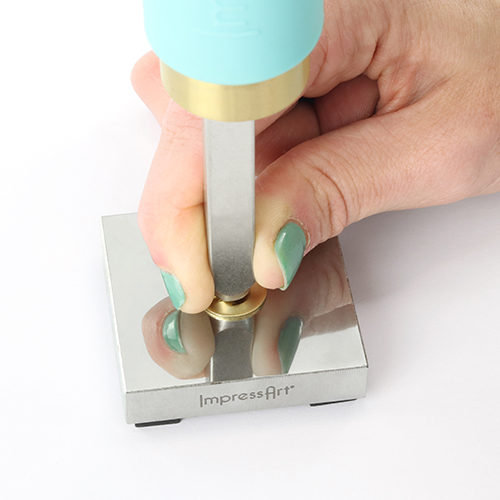
Step 4
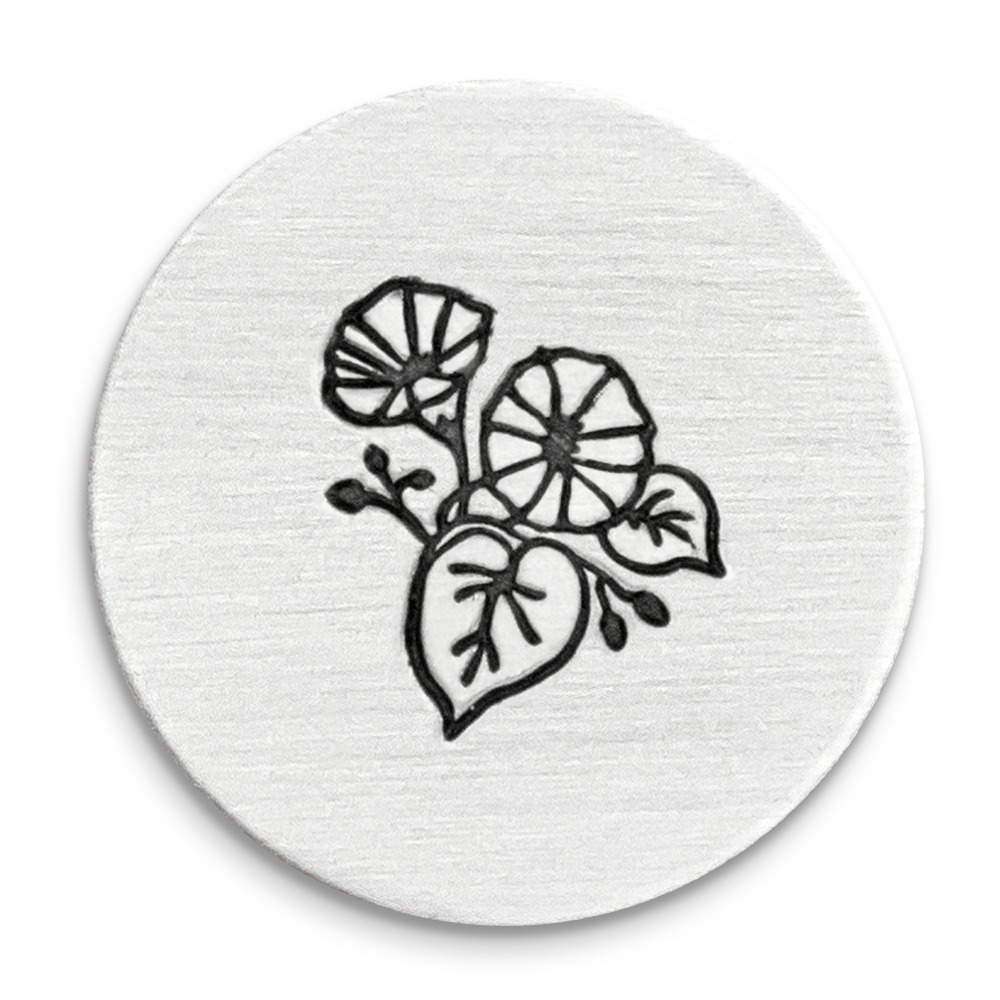
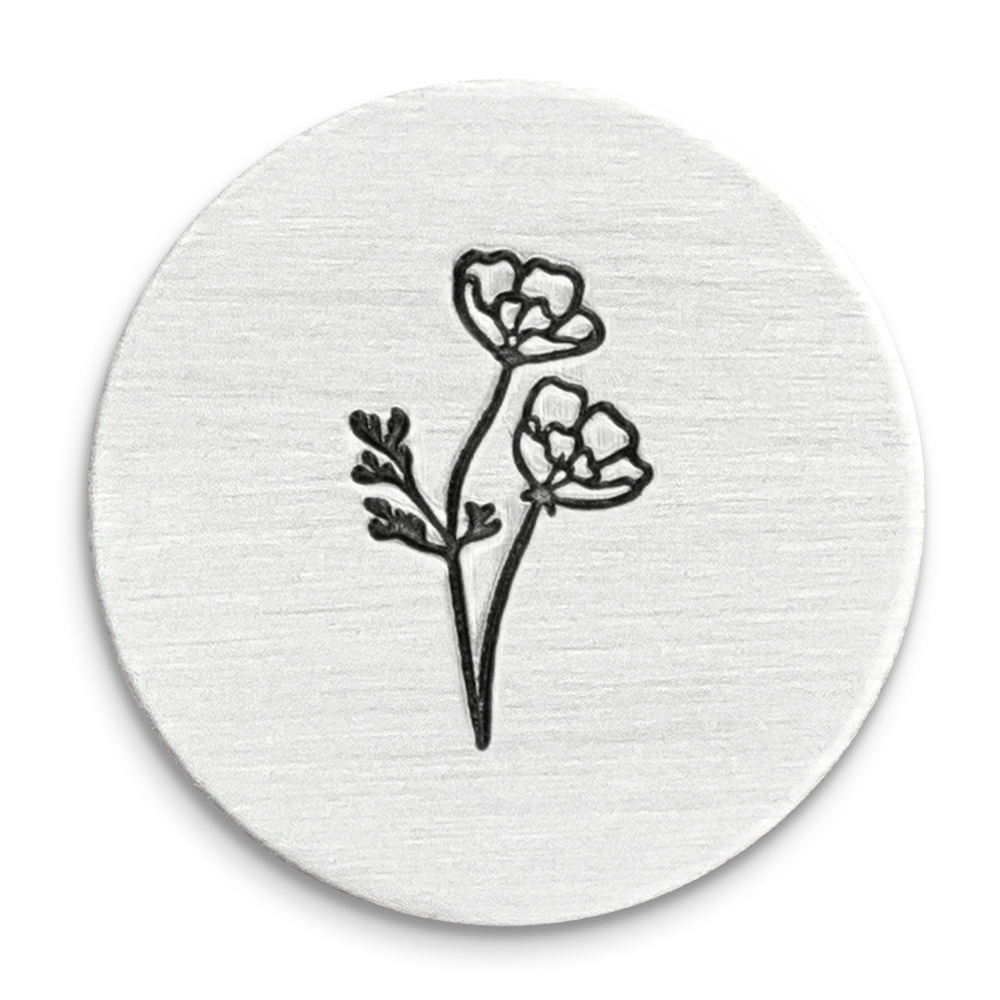
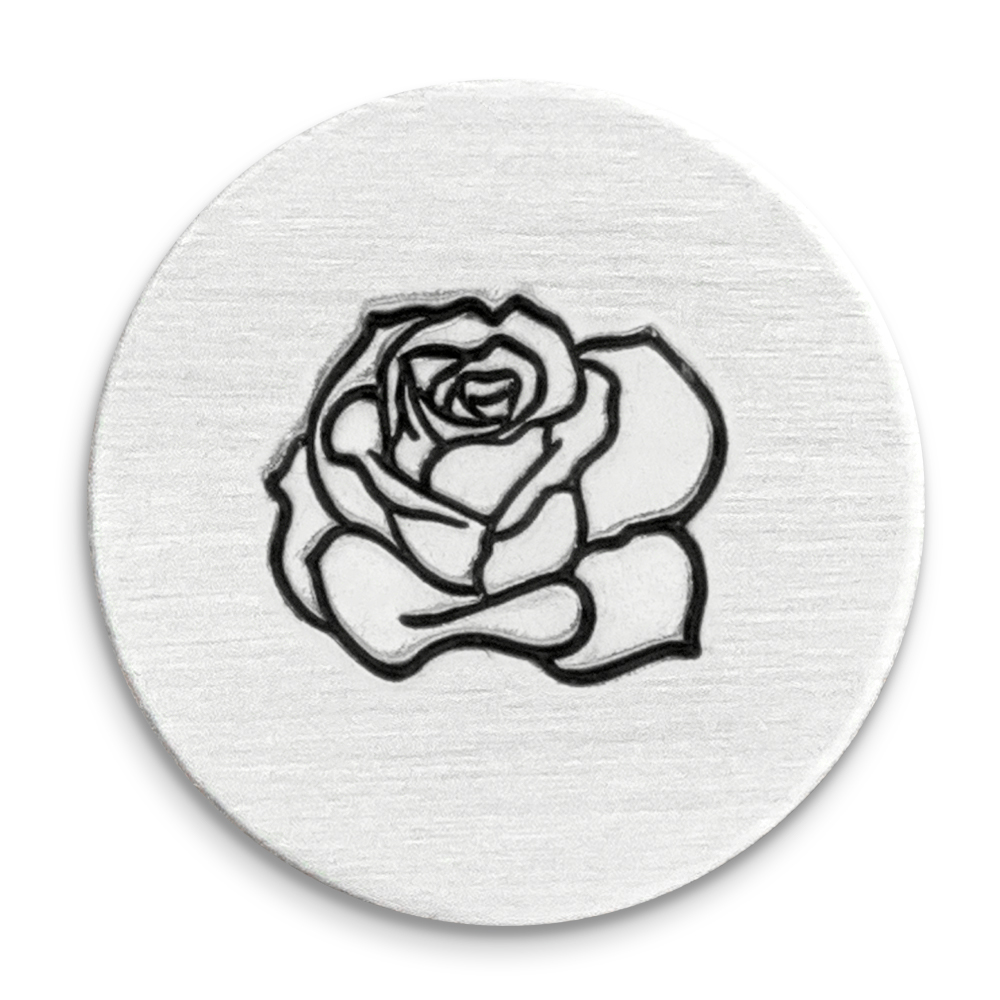
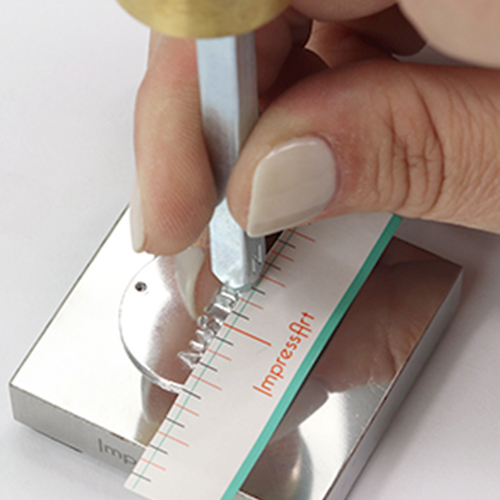
Continue to personalize the sugar skull cutout using design stamps of your choice to stamp festive facial features. Use the Tilt & Tap technique to stamp 6mm and larger stamps, or stamps with more details. While applying pressure to the stamp, strike once with medium force. Then without lifting stamp, continue to strike while very slightly tilting the stamp in a circular motion to catch all sides of the design.
TIP: If the stamp has an ImpressArt logo, make sure it is facing you so that the impression is stamped in the correct direction.
TIP: Use pattern grids and stamp guides to assist in spacing and aligning design impressions.
TIP: Convert your original design or logo into an ImpressArt custom stamp!
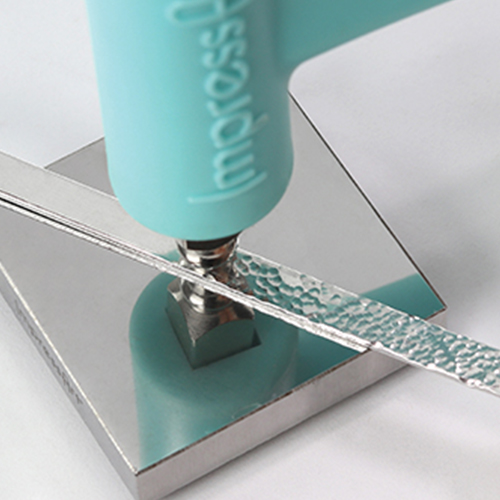
Step 5
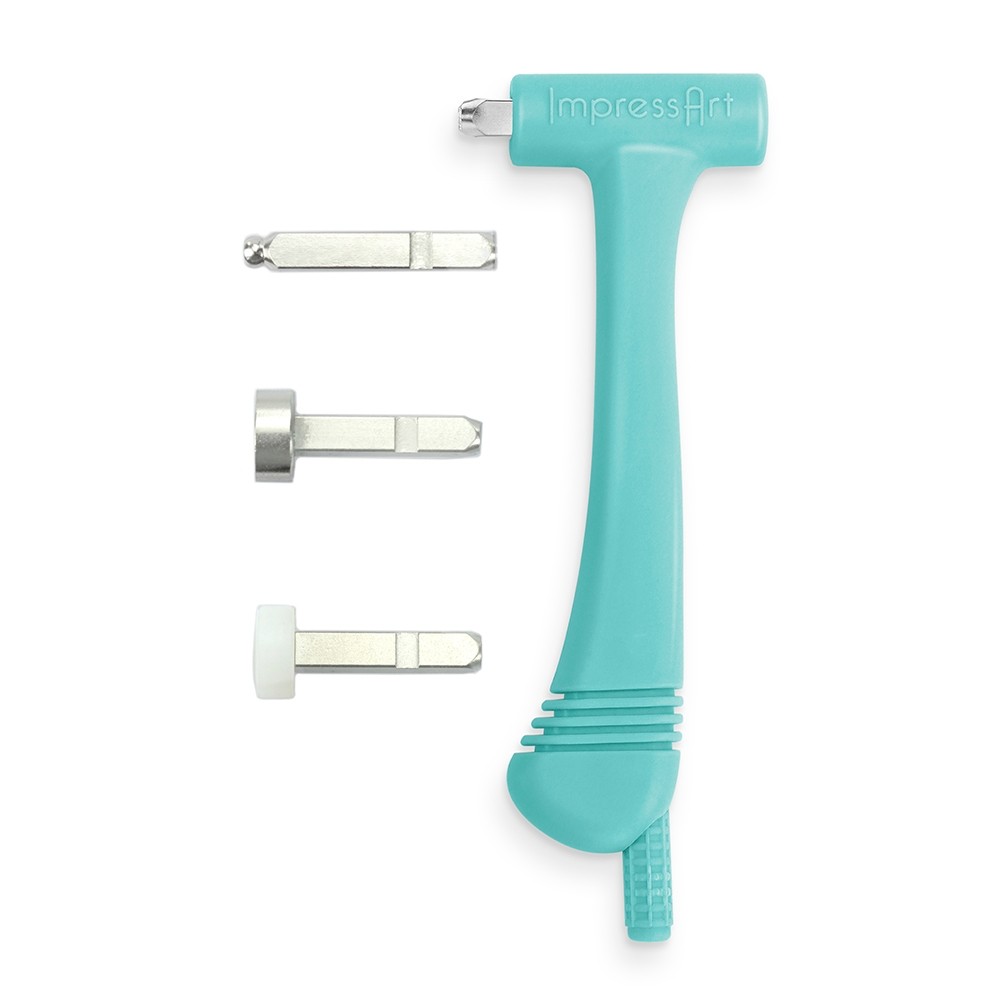
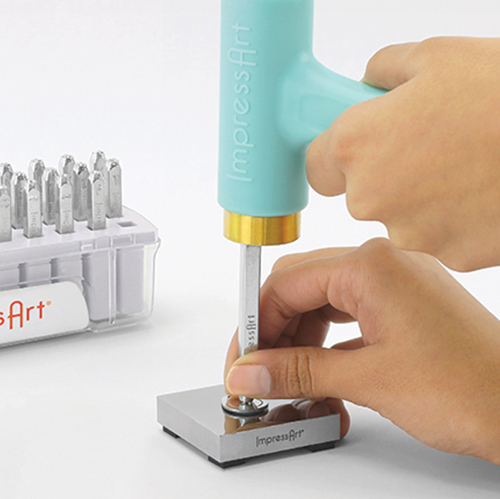
Create a diamond-cut edge around the perimeter of the sugar skull. Place ball pein texture stamp in the Multi-Function Hammer, with the notch in the stamp facing down. Secure stamp in the hammer by tightening the screw at the bottom of the hammer.
Hold the hammer with your palm of your hand over the screw and use one finger, off to the side, to hold the blank in place. Then stamp the blank repeatedly with light-medium force until the desired texture design is achieved.
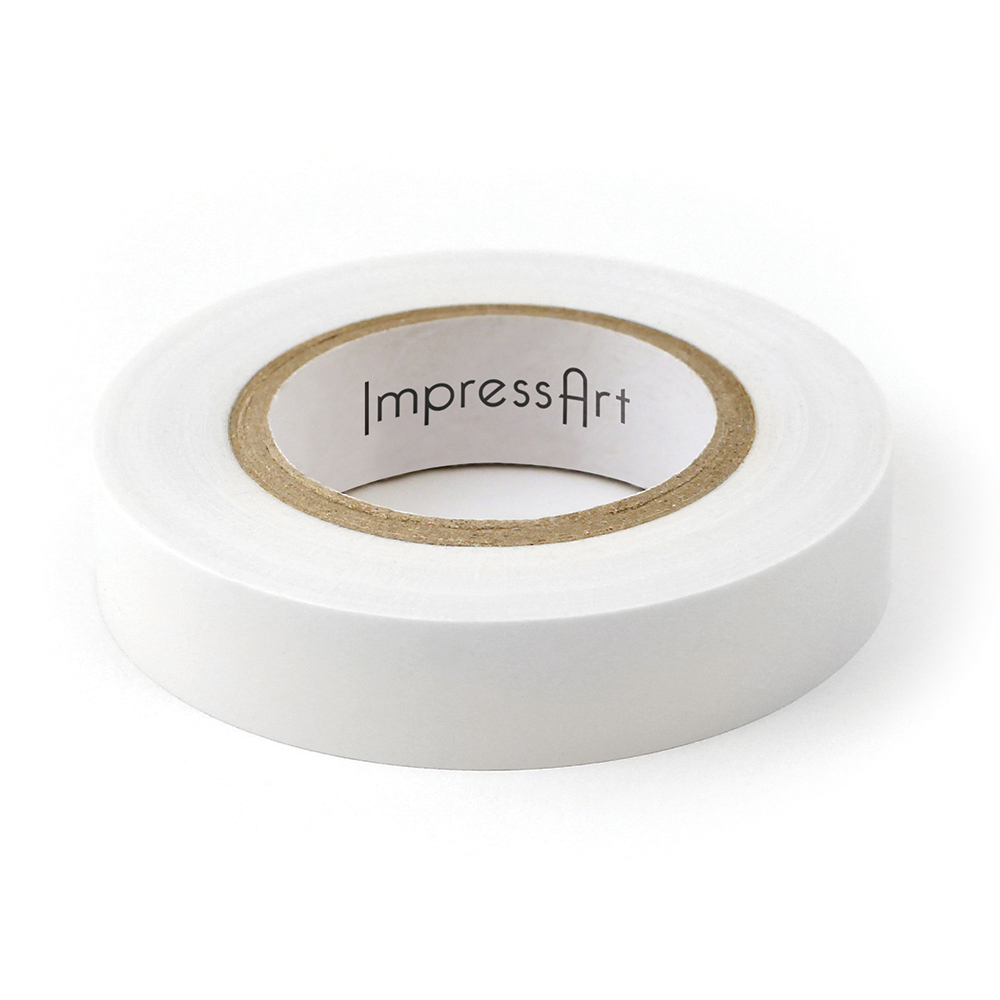
TIP: Use stamp tape to secure the blank to the stamping block so it doesn’t move while texturing. You will be able to texture the blank through the tape.
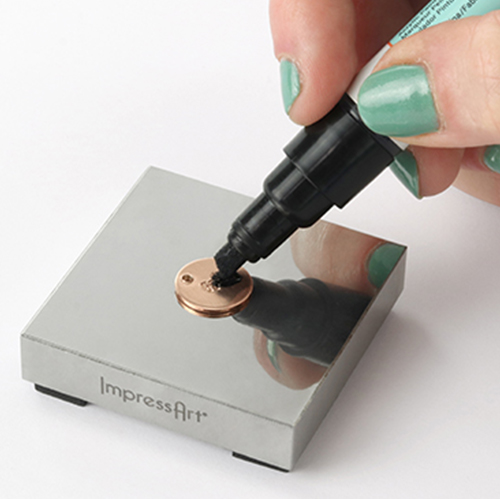
Step 6
Highlight impressions with Stamp Enamel. Wait 3-5 minutes and then dab the excess enamel into the impressions with a paper towel before lightly wiping it away from the surface of the blanks.
Step 7
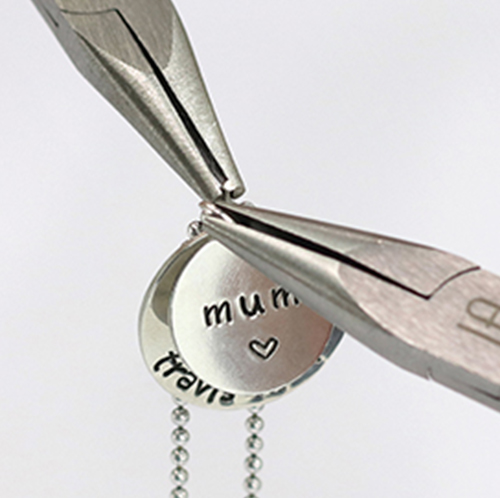
Place blank inside a dapping cavity that is slightly bigger than the size of the blank. Hold punch in center of blank and anchor the side of your hand on the dapping block so that the block doesn’t move while dapping. Tap punch with the Metal Stamping Hammer. Then continue to tap the punch while rotating the punch at an angle in the dapping cavity until blank is evenly domed. To create more of a dome, move the blank to the next smallest dapping cavity. And repeat the dapping process.
Place dapped blank back on stamping block. Insert nylon stamp in the Multi-Function Hammer. Then strike the middle of the dapped skull repeatedly with light-medium force to flatten the center just a bit.
Note: Blanks should be gradually dapped. Start from a larger dapping cavity and work down in size until desired doming effect is achieved.
Note: All stamping, texturing and holes should be completed prior to dapping. Holes may need to be re-pierced after the dapping process.
Step 8
Buff stamped blank to a brilliant, high-shine finish using High Polish Finish Blocks. Use fine grit to quickly clean and polish blanks. Hold buffing block in the palm of the hand and move the block in even, back and forth strokes to remove dirt and dried enamel left on the raised surfaces. Use extra fine grit for buffing to a high shine. Hold buffing block in the palm of hand and buff in tiny, back and forth strokes with light pressure to get a mirror-like shine.
Step 9
Further, decorate the sugar skull by texturing and dapping ½” circle blanks and flower embellishment charms for eyes. Use GS Hypo to secure blanks to the skulls and allow to dry.
Step 10
As the sugar skull is drying, start creating the flower crown. Use a non-permanent marker to measure and mark where to stamp the flower designs on the 1” strip blank so that the crown sits on the top of the sugar skulls and hangs off the sides enough to attach a jump ring and chain. Stamp desired design, then use the jewelers saw, metal shear, flush cutters, and matte finish buffing block to cut and sand the blank.
NOTE: Do NOT cut too close to your stamped impressions, you want to leave some room.
Step 11
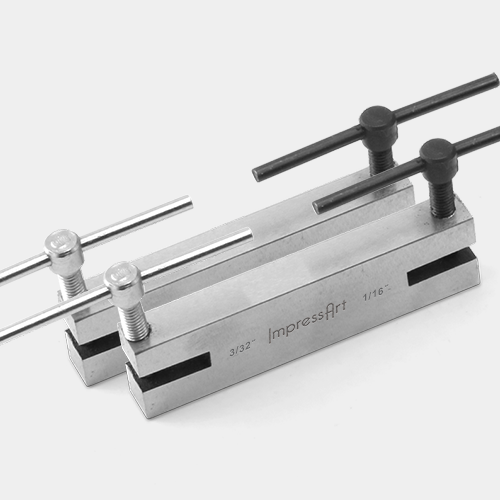
Pierce a hole on the left and right side of the flowers crown blank using the 1/16” punch of the 2 Hole Screw Down Punch. Simply turn the handle of the screw down punch until the punch pierces through the stamping blank. Twist the handle of the screw down punch in the opposite direction to raise the punch and remove blank.
TIP: Make sure not to screw the punch down too much as this will mar the surface of the blank and leave an unwanted impression of the base of the screw.
Step 12
Further, decorate the flower crown stamping, texturing, dapping, and polishing flower blanks and flower embellishment charms. Use flush cutters to cut off embellishment charm tags Bend the wings of the butterfly embellishment charms by grabbing the center of the butterfly with round nose pliers and using your fingers to push the wings up.
Step 13
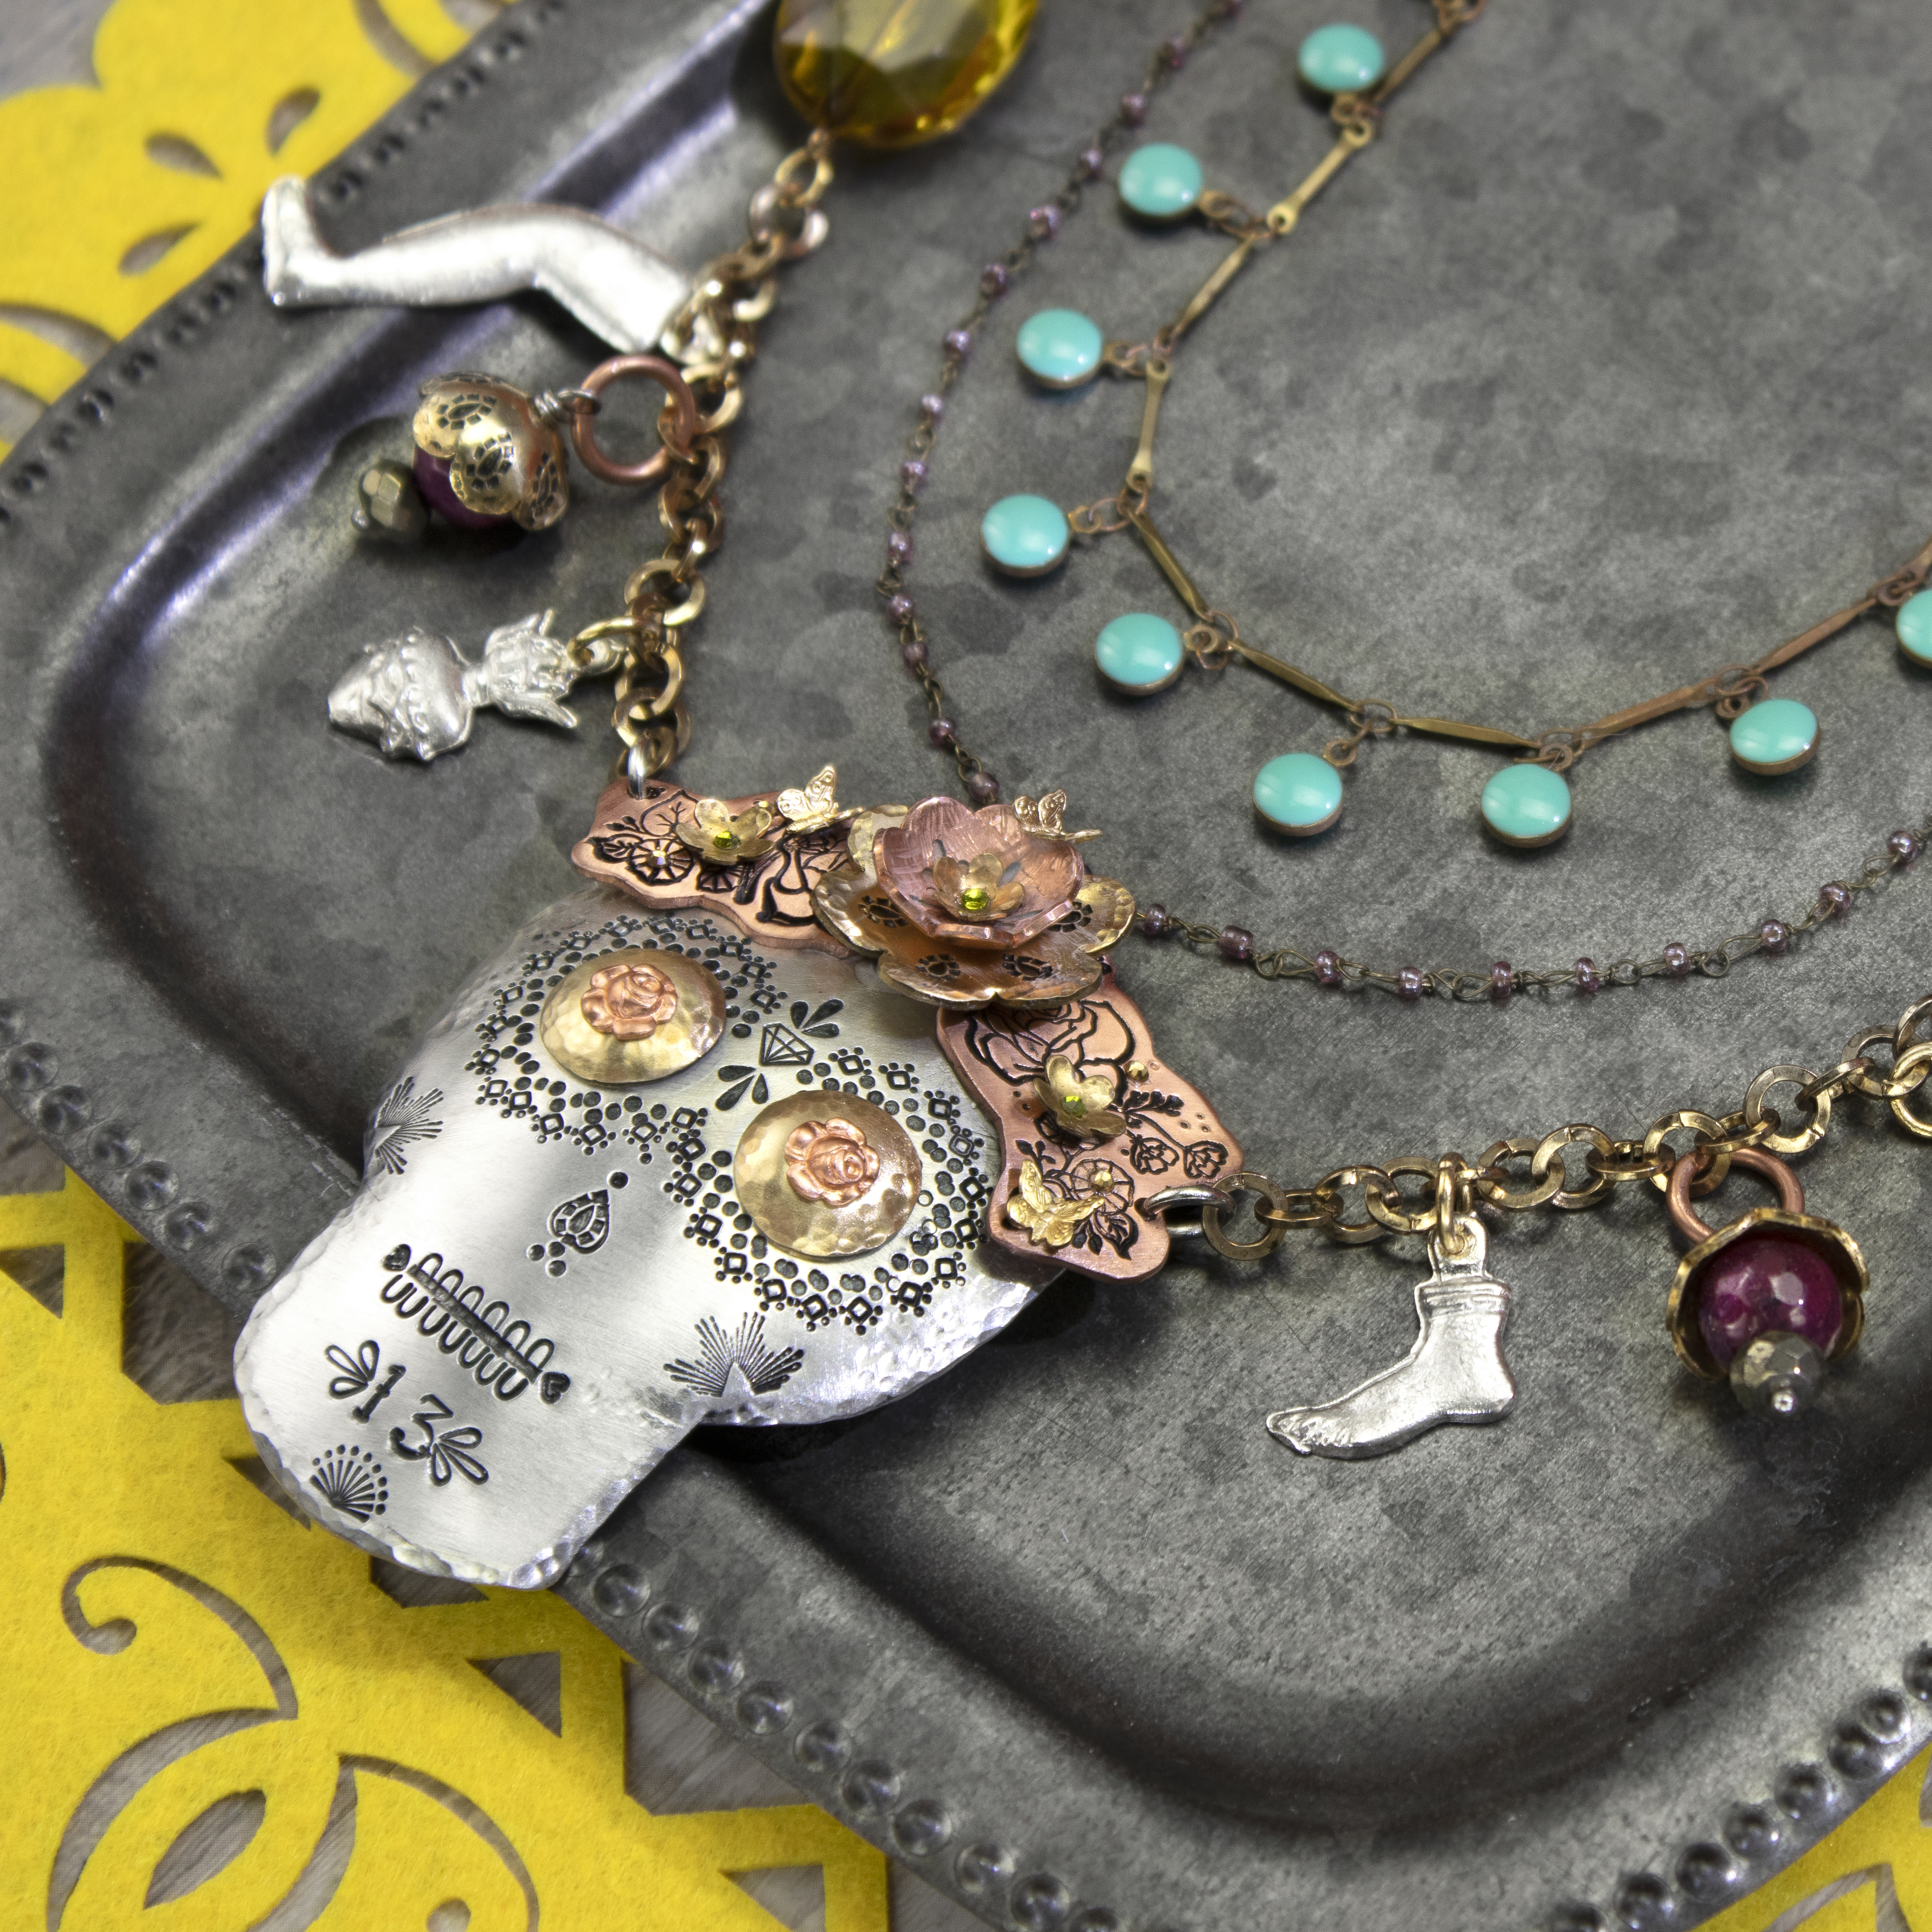
Assemble the flower crown onto the sugar skull by layering the stamped, dapped blanks. Use G.S. jewelry glue to secure the blanks in place. For a spark of color and a 3D effect, adhere birthstone crystals and embellishment charms onto the blanks. Allow blanks to dry.
Step 14
As the skull is drying, create wire wrap beads with or without bead caps made out of stamped, dapped, flower blanks.
Create wire wrapped beads with an optional stamped ebad cap by stringing beads and bead cap onto a headpin. Grab the wire directly above the bead with chain nose pliers and bend the wire to a 90-degree angle. Then use round nose pliers to grab the wire right at the bend. Wrap the wire all the way around the top jaw of the round nose pliers. Then with the wire still in the pliers jaws, rotate the round nose pliers so that the bottom jaw is on top. Continue to wrap wire around the bottom jaw until a round loop is formed. Next, hold the round loop with chain nose pliers and wrap the wire down the headpin towards the bead. Cut excess wire with flush cutters. Use chain nose pliers to tuck in the remaining tip of the wire so no sharp edges are sticking out. Repeat to complete desired amount of wrapped beads.
Step 15
Mix and match different lengths and styles of chain to create a necklace using a quick link clasp. Embellish the chain with the wire wrapped, charms, and other adornments.
Use the tips of two chain nose pliers to grasp the sides of a jump ring, with the opening of the jump ring facing up between the two pliers. Laterally twist each side of the jump ring in opposite directions to open the ring. Slide desired embellishment and necklace link onto the jump ring. Laterally twist the jump ring back with tension to close. Repeat jump ring technique to attach remaining adornments.
NOTE: Do NOT pull outwards on the jump ring as it will weaken the metal and distort the circular shape of the ring.
Step 16
Attach embellished chain to stamped sugar skull to complete necklace. Allow the necklace to completely dry for 24 hours before wearing.