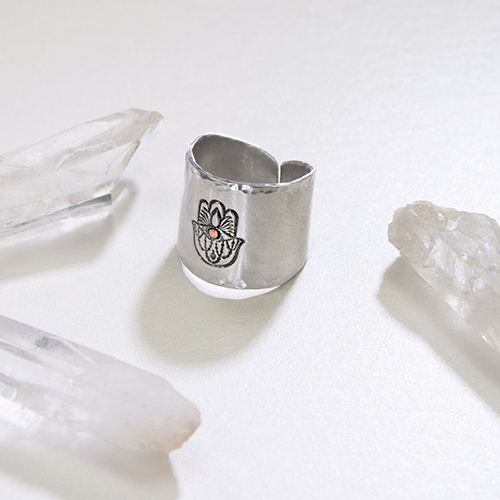
Step 1
To make a cigar band ring, sketch an elongated oval on the rectangle stamping blank using a non-permanent marker. Make sure the length of the elongated oval is the entire length of the blank. Cut the design out of stamping blank using metal shears.
Step 2
Use coarse grit on the Matte Finish Buffing Block to soften any sharp edges. Hold the buffing block in the palm of hand and use downward strokes with moderate pressure to file sharp edges. Repeat until edges are smooth to touch.
Note: Be sure not to scratch the surface of the blank.
(Optional) Buff surface of the blank to a matte finish using Matte Finish Buffing Blocks. Use medium grit to create a brushed matte textured surface. Hold buffing block in palm of hand and use even, smooth downward strokes to buff the surface to a matte finish. Repeat until desired texture is achieved.
Step 3
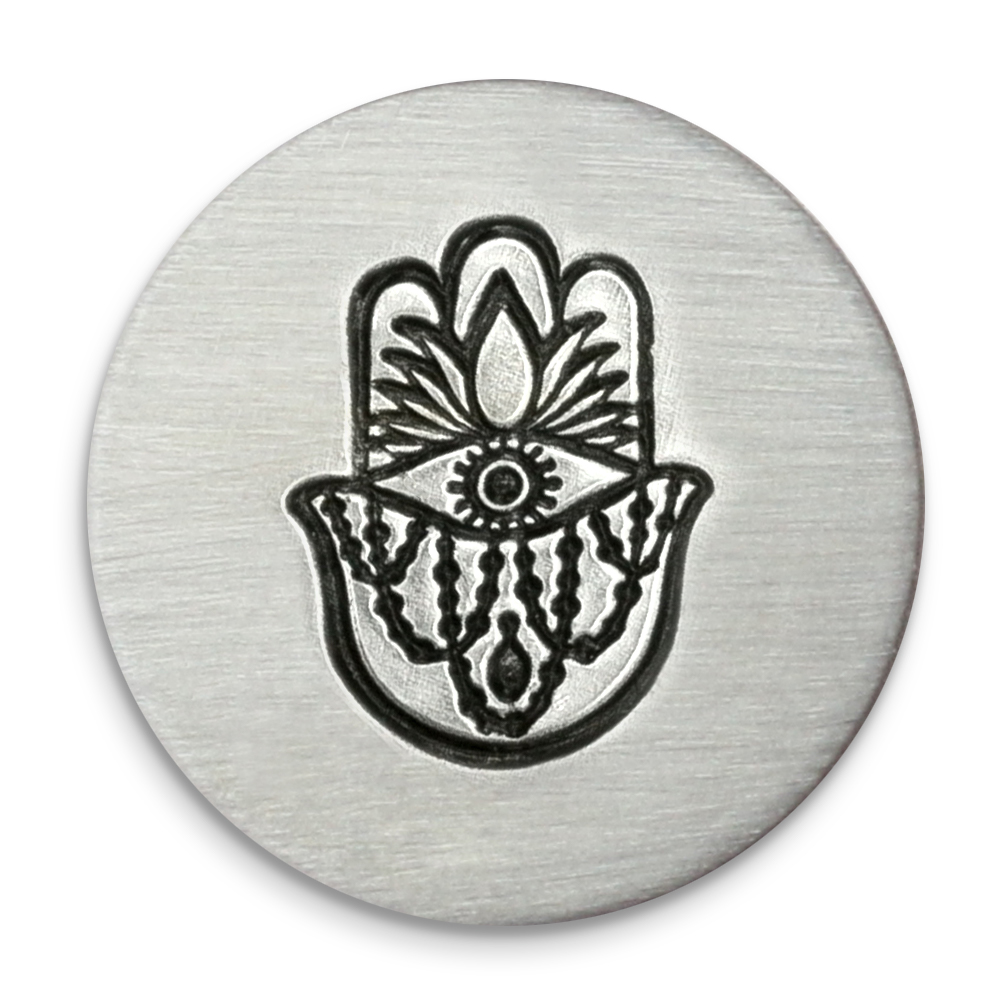
Place cut blank on stamping block. Position Hamsa Ultra Detail Design Stamp in the center of the blank. Use the Tilt & Tap technique to stamp 6mm and larger stamps, or stamps with more details. While applying pressure to the stamp, strike once with medium force. Then without lifting stamp, continue to strike while very slightly tilting the stamp in a circular motion to catch all sides of the design.
TIP: If the stamp has an ImpressArt logo, make sure it is facing you so that the impression is stamped in the correct direction.
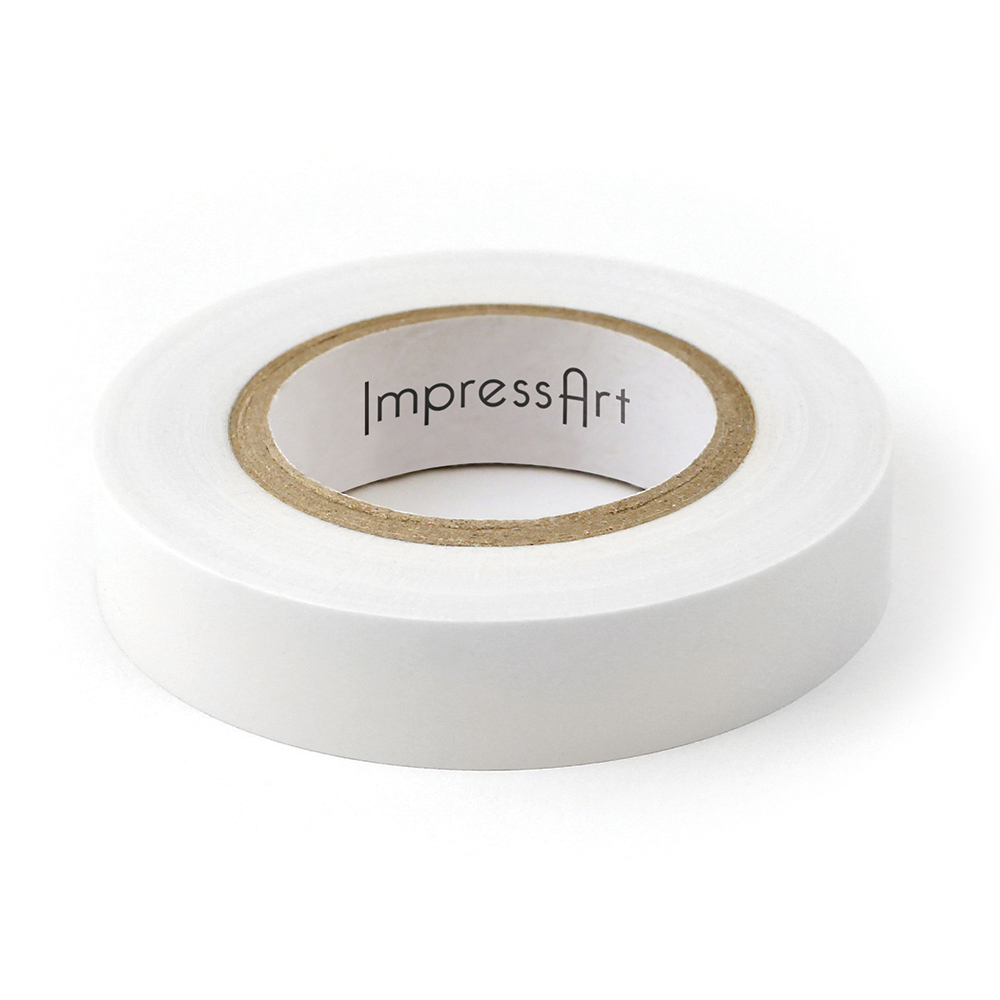
TIP: Use stamp tape to secure the blank to the stamping block so it doesn’t move while stamping.
Note: Harder metals and stamps with more detail require a harder strike than softer metals and stamps with less detail.
Step 4
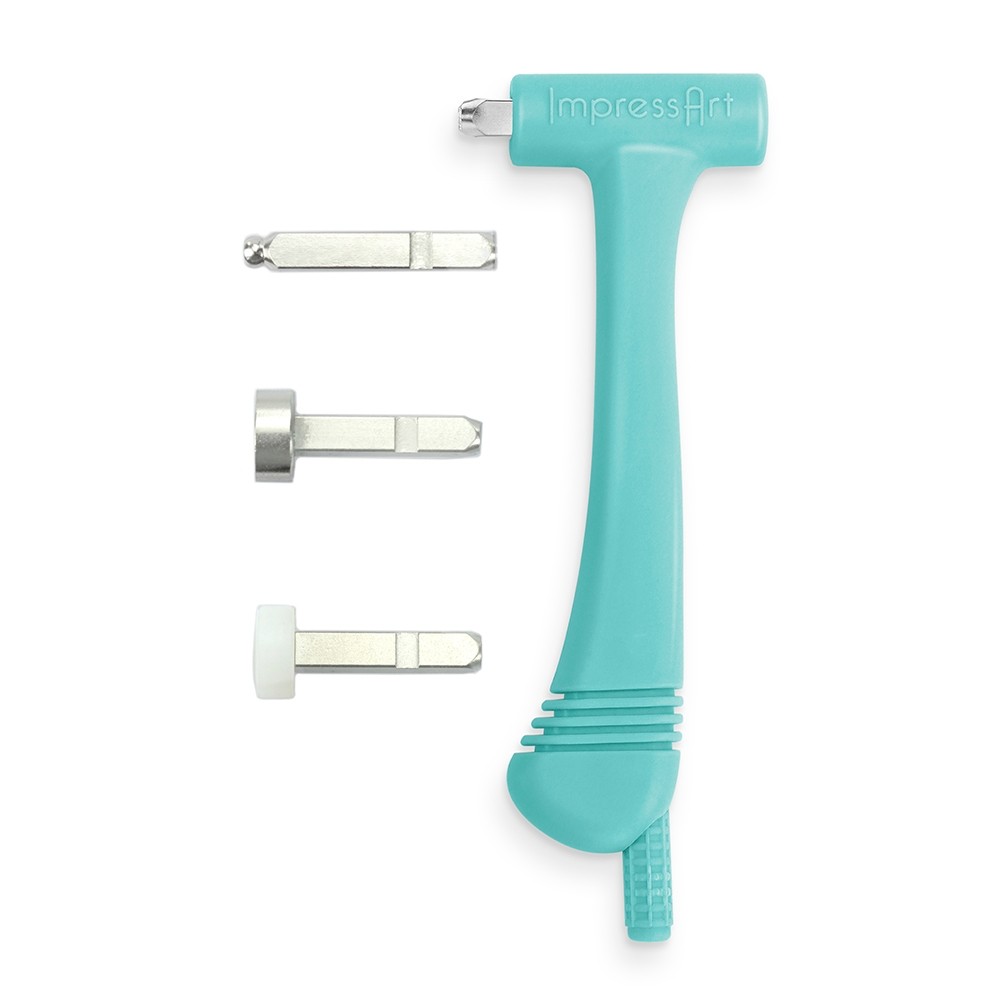
Place ball pein texture stamp in the Multi-Function Hammer, with the notch in the stamp facing down. Secure stamp in the hammer by tightening the screw at the bottom of the hammer.
Set blank on stamping block. Hold the hammer with your palm of your hand over the screw. Then while holding the bracelet in place, stamp only the edge of the blank repeatedly with medium force until the entire outside edge of the blank is textured with a bevel effect.
TIP: Use stamp tape to secure the blank to the stamping block so it doesn’t move while texturing. You will be able to texture the blank through the tape.
Step 5
For a spark of color, stamp the center eye of the hamsa using the 1.8mm crystal setter.
Hold crystal setter flat and firmly in place on the stamping blank. Strike with medium force using metal stamping hammer until a round indentation is formed in the stamping blank. The indentation should be deep enough so that the edges of the crystal are set in the divot and the top of the crystal protrudes out from the blank.
Step 6
Highlight impressions with Stamp Enamel. Wait 3-5 minutes and then dab the excess enamel into the impressions with a paper towel before lightly wiping it away from the surface of the blank.
Step 7
Buff stamped blank to a brilliant, high-shine finish using High Polish Finish Blocks. Use fine grit to quickly clean and polish blanks. Hold buffing block in the palm of the hand and move the block in even, back and forth strokes to remove dirt and dried enamel left on the raised surfaces. Use extra fine grit for buffing to a high shine. Hold buffing block in the palm of hand and buff in tiny, back and forth strokes with light pressure to get a mirror-like shine.
Step 8
After stamping and polishing are complete, use the Ring Bending Pliers to bend the ring blank into a cigar band ring shape. Match the curvature of the nylon jaws to the desired curvature of the ring. Starting at the end of the ring blank, squeeze pliers to begin forming. Continue to squeeze and release pliers towards the opposite end until the two sides meet.
Step 9
Secure a flat back crystal inside stamped divot impression with jewelry adhesive, and allow to dry before wearing the ring. Use tweezers to help set crystal in place, making sure not to scratch the crystal.
OPTIONAL: Instead of a flat back crystal, use a disc punch out from the 2 Hole Screw Down Punch. Take a scrap stamping blank and punch a hole using the 1/16" punch of the 2 Hole Screw Down Punch. Simply turn the handle of the screw down punch until the punch pierces through the stamping blank. Twist the handle of the screw down punch in the opposite direction to raise the punch and remove blank. Save the pierced cut out and secure it inside stamped divot impression with jewelry adhesive, and allow to dry before wearing the ring.