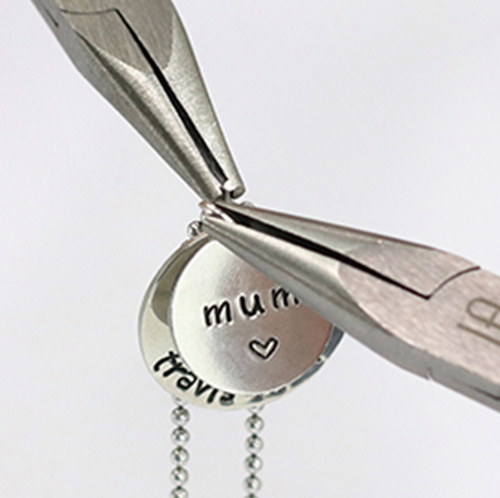
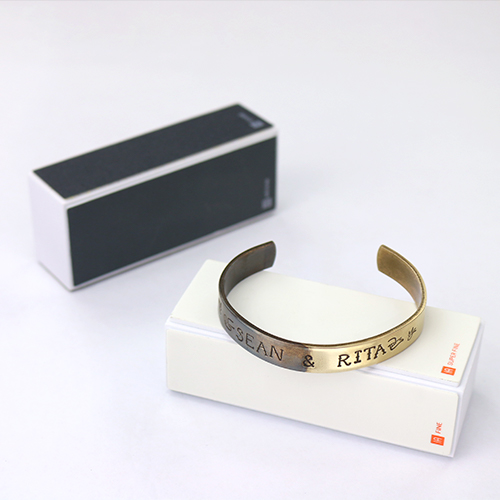
Step 1
(Optional) Buff all blanks to a matte finish using Matte Finish Buffing Blocks. Use medium grit to create a brushed matte textured surface. Hold buffing block in palm of hand and use even, smooth downward strokes to buff surface to a matte finish. Repeat until desired texture is achieved. Set blanks aside.
Step 2
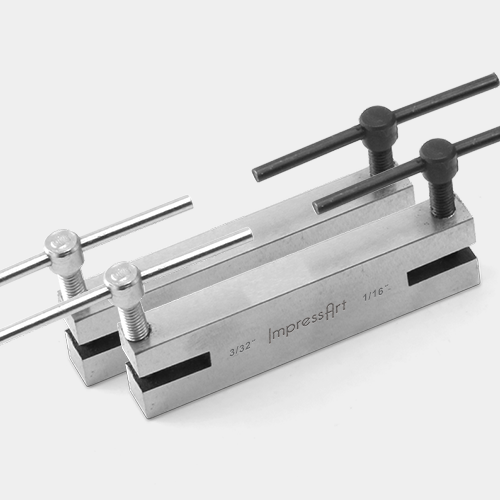
Use the 1/16” punch of the Two Hole Screw Down Hole Punch to pierce one (1) hole at the top of the washer blank as well as five (5) holes along the bottom. Then pierce a hole at one end of each of the rectangle blank and at the top of the oval bezel insert. Simply turn the handle of the screw down punch until the punch pierces through the stamping blank. Twist the handle of the screw down punch in the opposite direction to raise the punch and remove blank.
Step 3
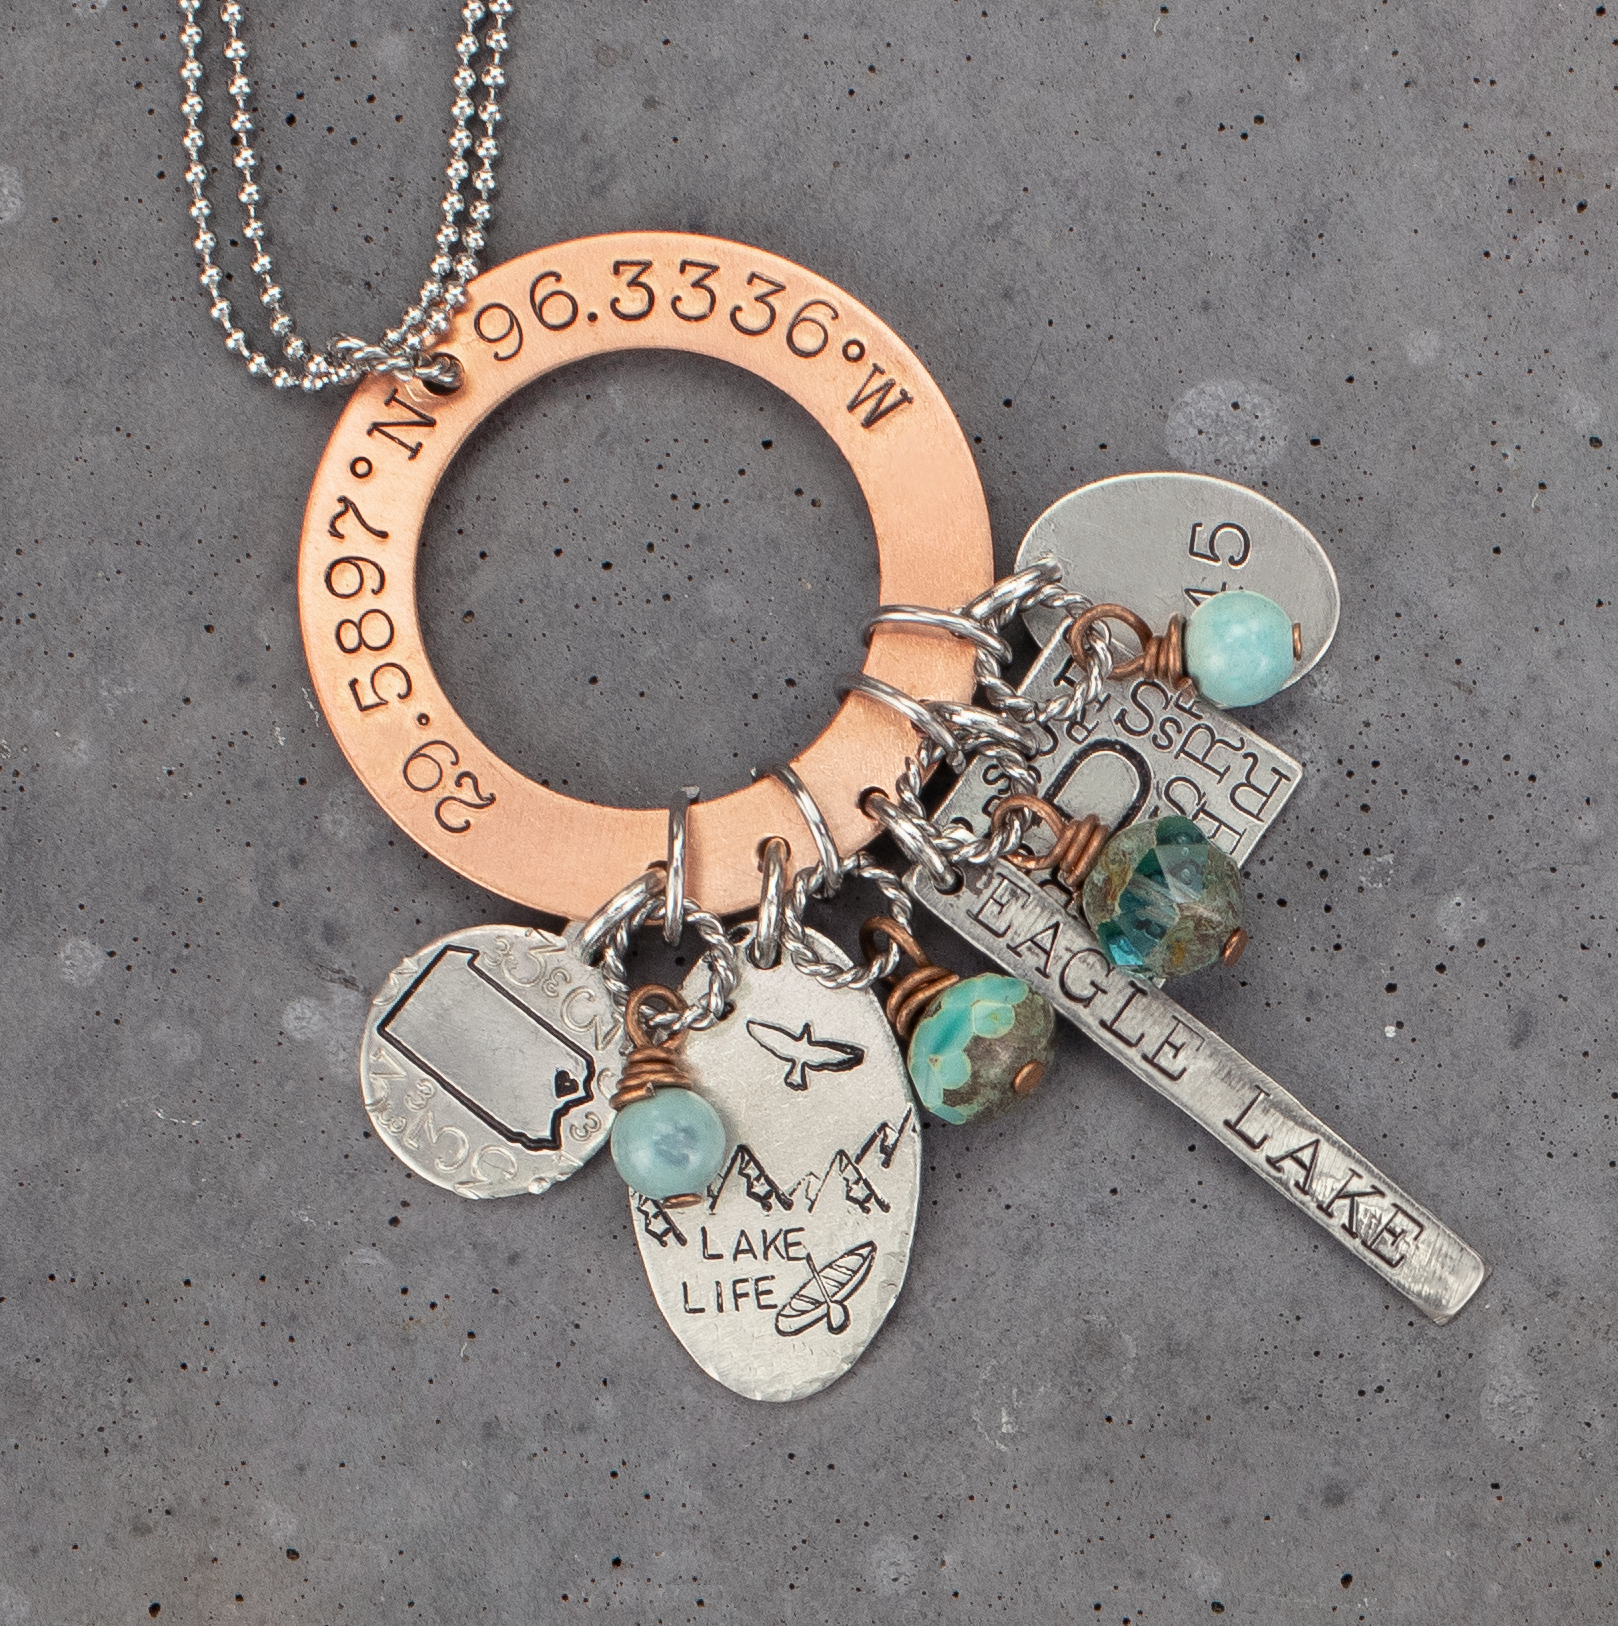
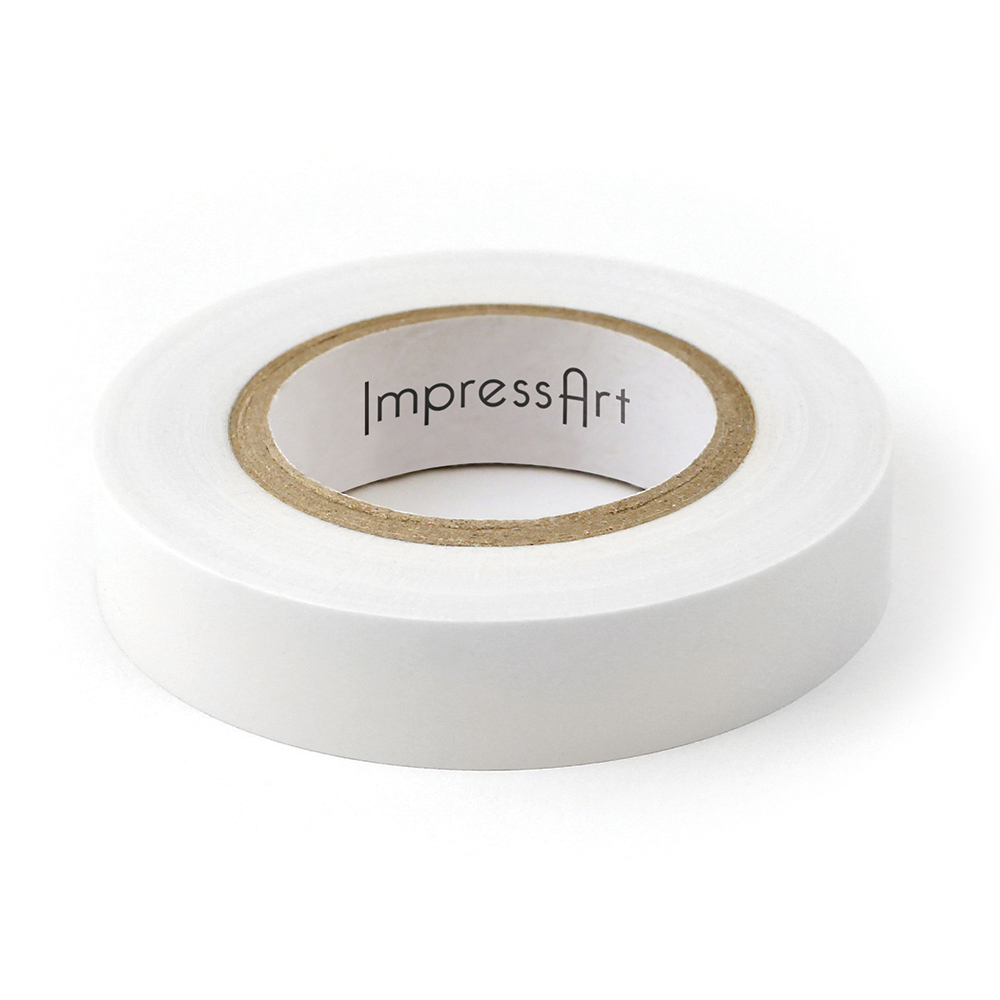
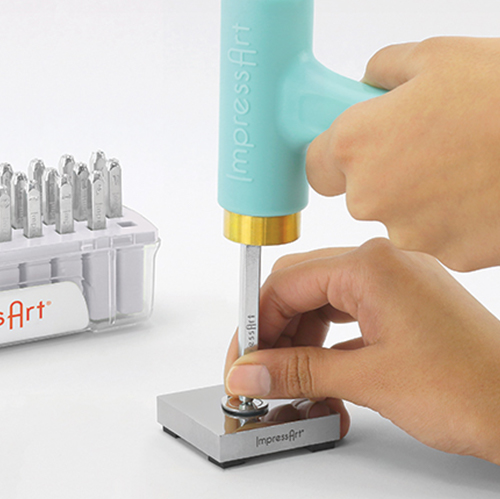
Place washer on stamping block. Use stamp tape to secure the blank to the stamping block so it doesn't move while stamping. Stamp desired coordinates around the top half of the washer. Place your stamp on the blank and lightly drag it towards the inside of the washer, until the outside edge of the stamp is even with the inner edge of the blank. Hold stamp flat and firmly in place by anchoring the side of your hand on workspace. Then strike stamp once with medium force using Metal Stamping Hammer. Repeat to complete desired coordinates, remembering to stamp the latitude and longitude symbols in the appropriate locations.
TIP: If the stamp has an ImpressArt logo, make sure it is facing you so that the impression is stamped in the correct direction.
TIP: As you work, turn the stamping block. This will ensure that the stamp is facing the correct direction.
TIP: Harder metals and stamps with more detail require a harder strike than softer metals and stamps with less detail.
Step 4
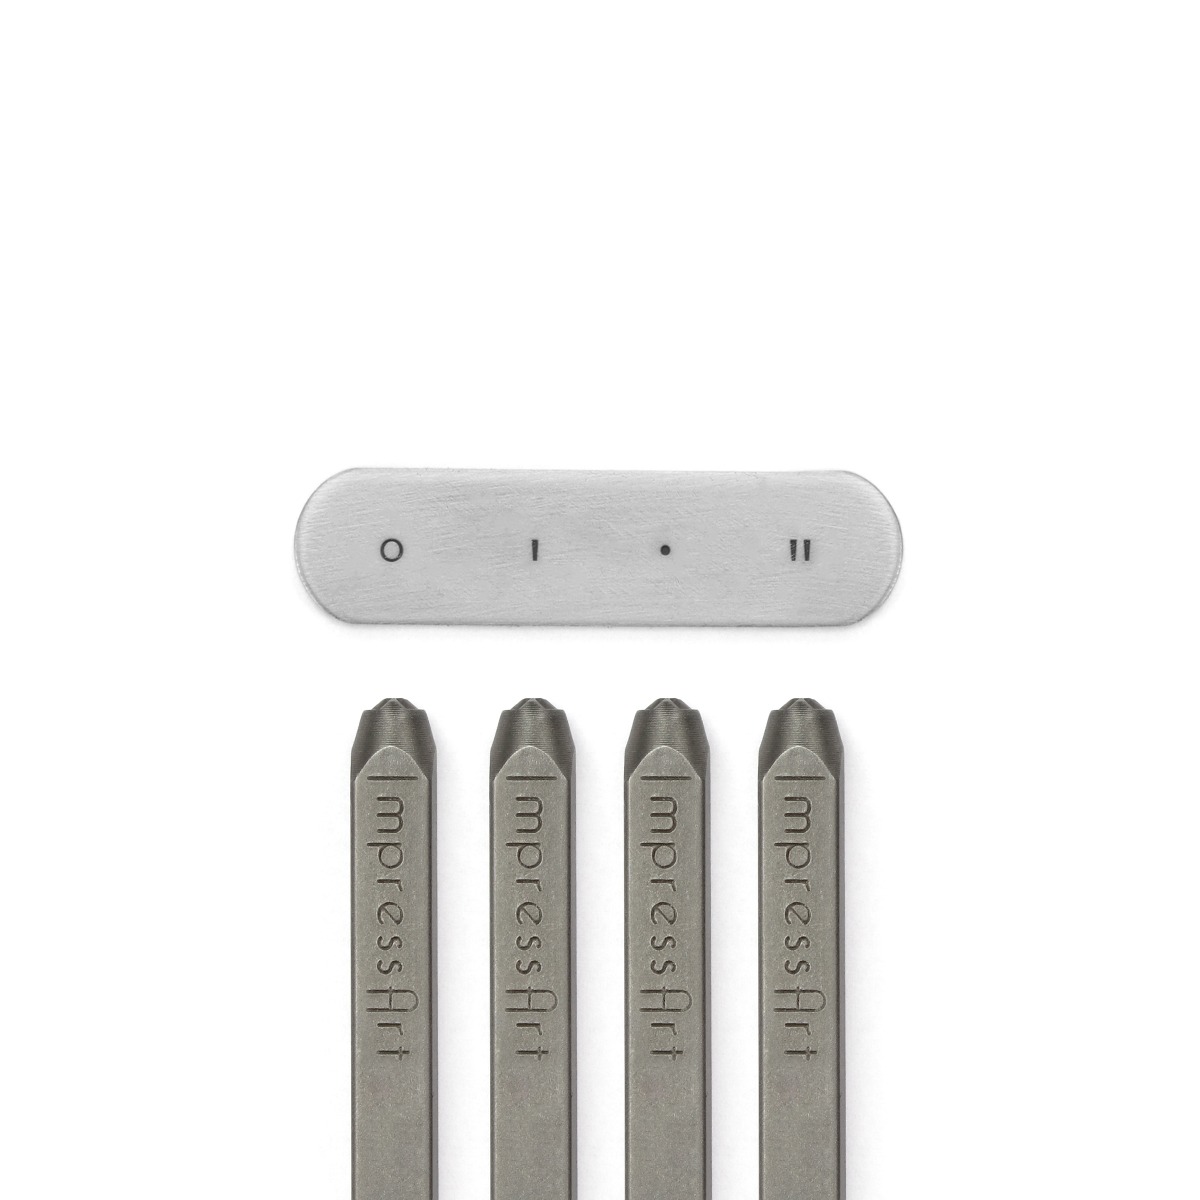
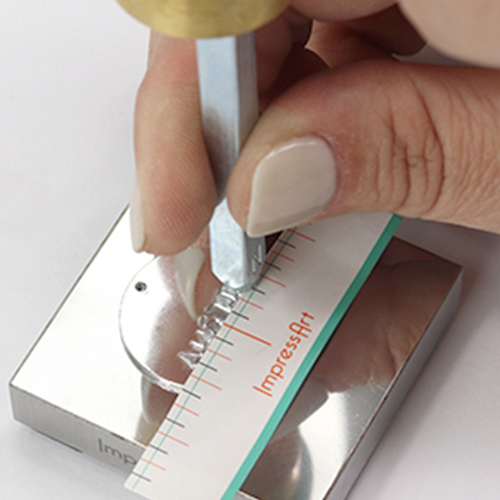
Position a rectangle blank on stamping block. Secure a straight stamp guide on the blank. Use the guide marks to evenly space out letters and align stamp impressions. Place stamp on blank, above the corresponding mark on the stamp guide. Lightly drag stamp towards the guide until the stamp catches the edge of the guide. Hold stamp flat and firmly in place. Then strike stamp once with medium force using Metal Stamping Hammer. Repeat to complete desired word. To stamp vertically down the blank, adhere the stamp guide just to the left of the center, and drag the stamp over towards the guide. Repeat stamping technique to stamp on the small oval blank.
TIP: Write desired message directly onto the stamp guide and utilize the guideline marks for spacing.
TIP: Slightly tilt the stamp towards you while dragging the stamp towards the guide. Make sure you hold the stamp flat and firmly in place before striking the stamp.
Step 5
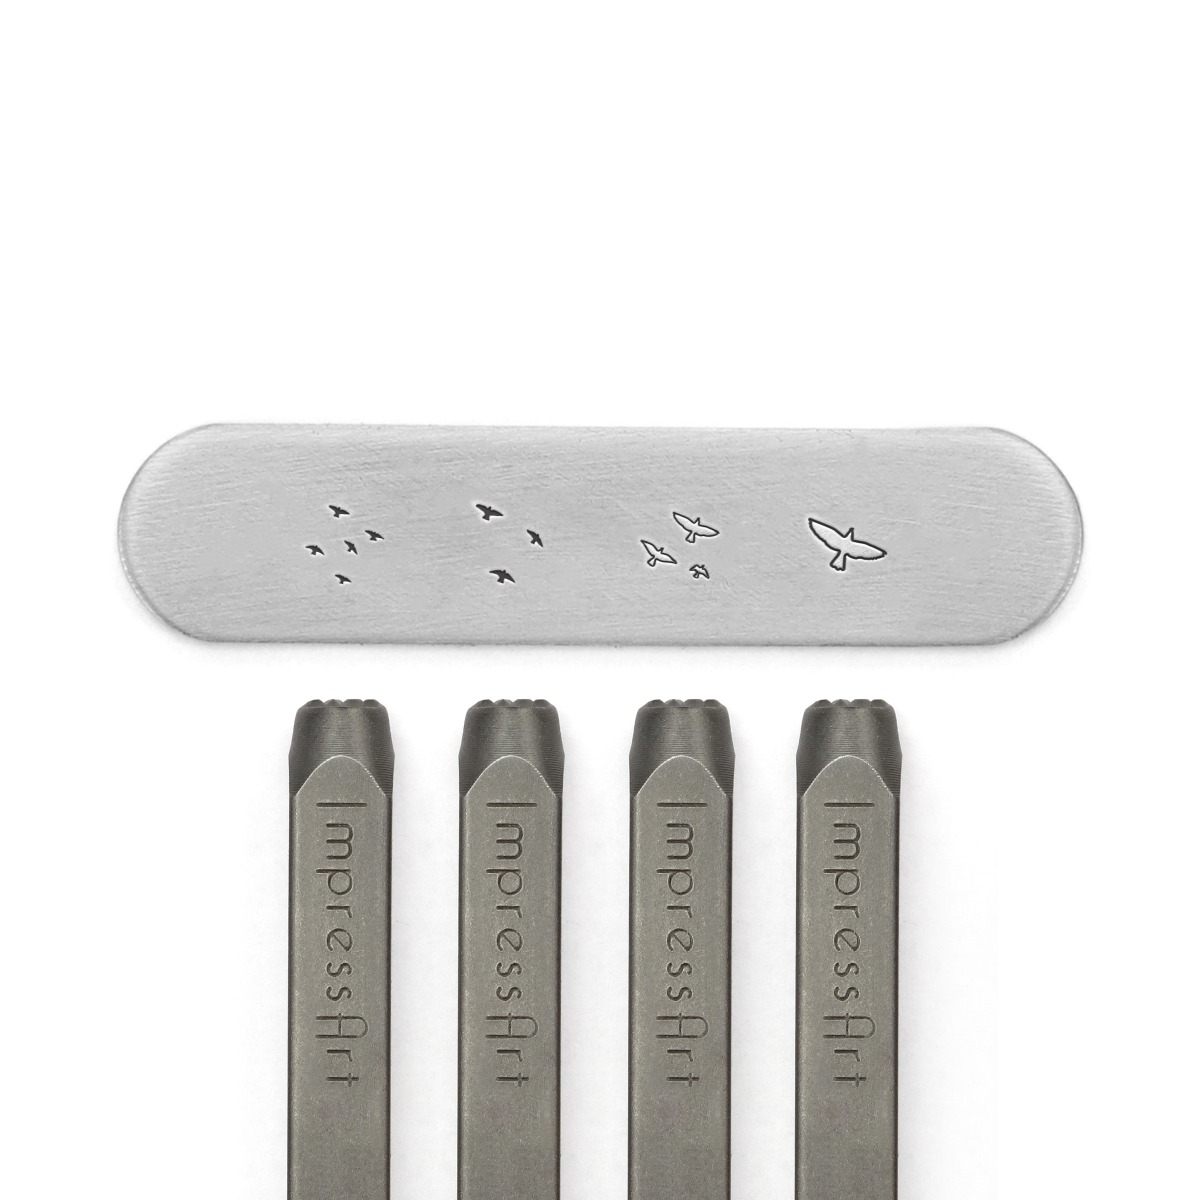
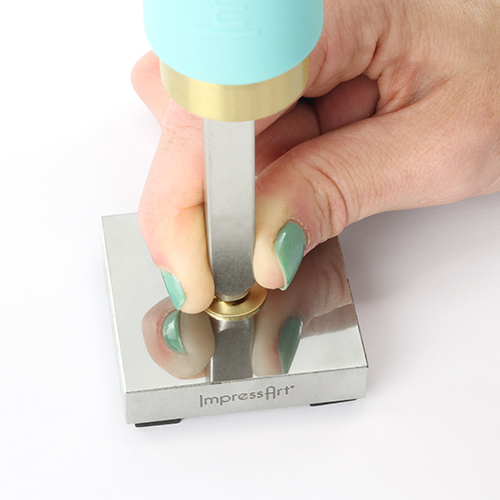
Set circle tag on stamping block. Stamp Ultra Detail State stamp of your choice in the center of the blank. Position design stamp on blank. Use the Tilt & Tap technique to stamp 6mm and larger stamps, or stamps with more details. While applying pressure to the stamp, strike once with medium force. Then without lifting stamp, continue to strike while very slightly tilting the stamp in a circular motion to catch all sides of the design. Mark desired location on state with a 1.5mm or 2.5mm heart. Further personalize the blank by stamping around the stamped impression. Repeat technique on the square blank using a Large Typewriter Stamp.
Step 6
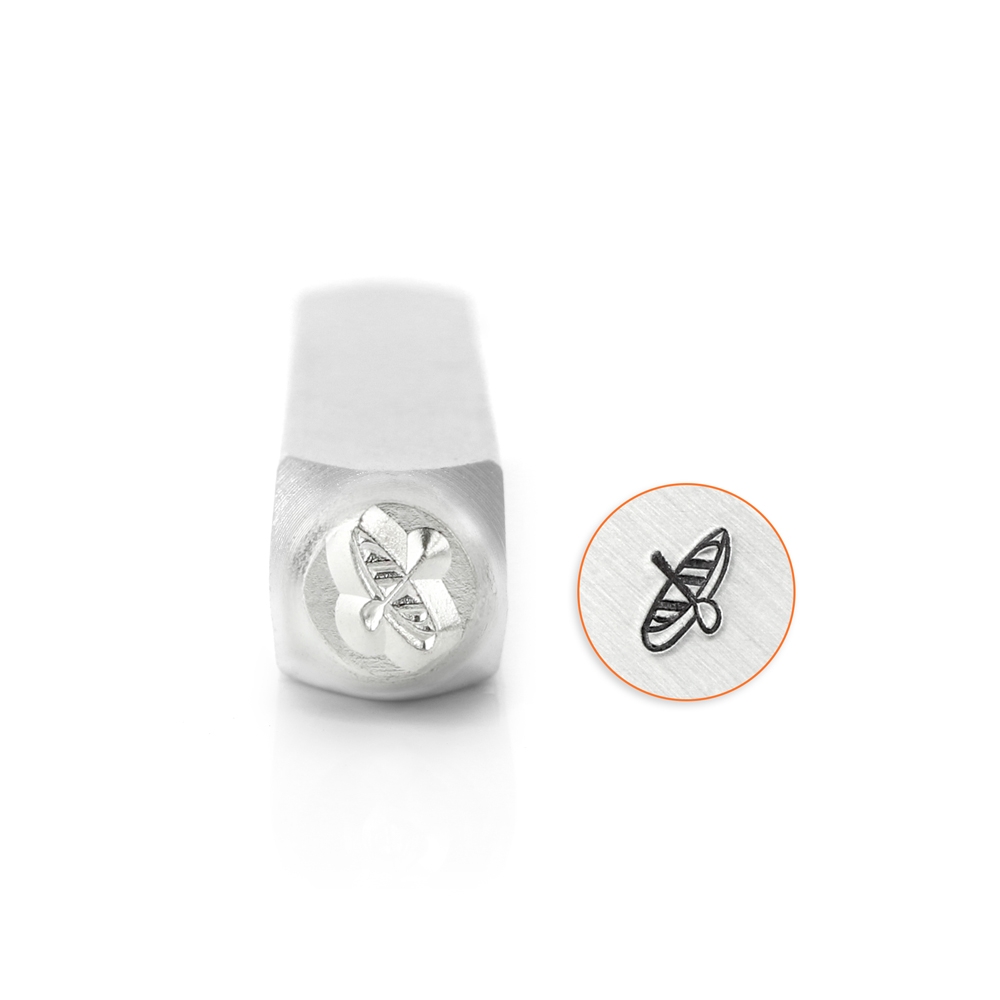
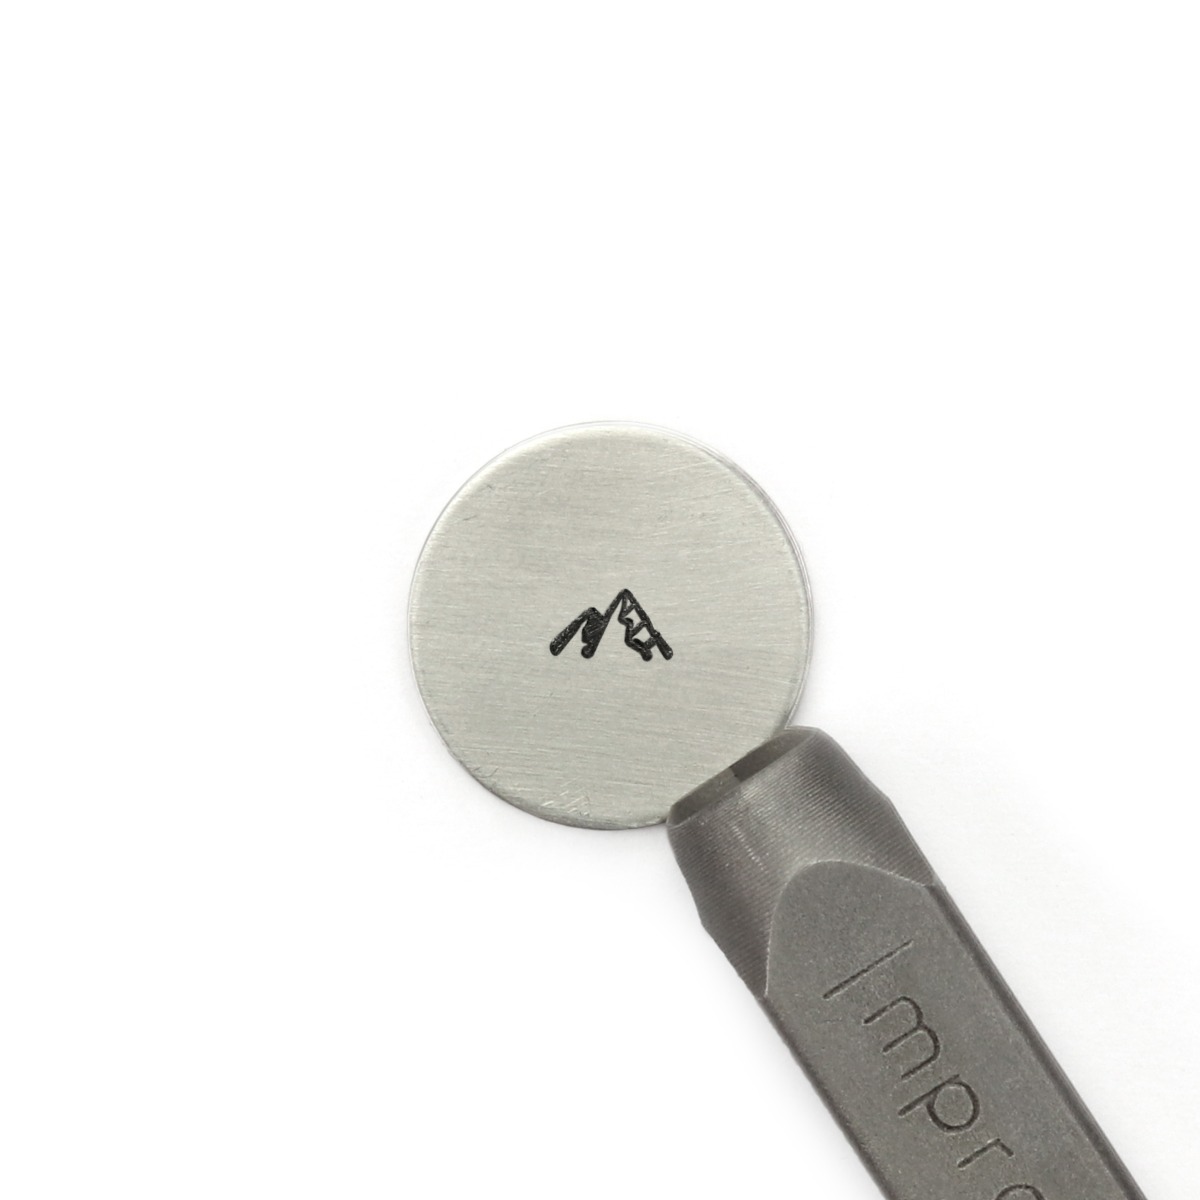
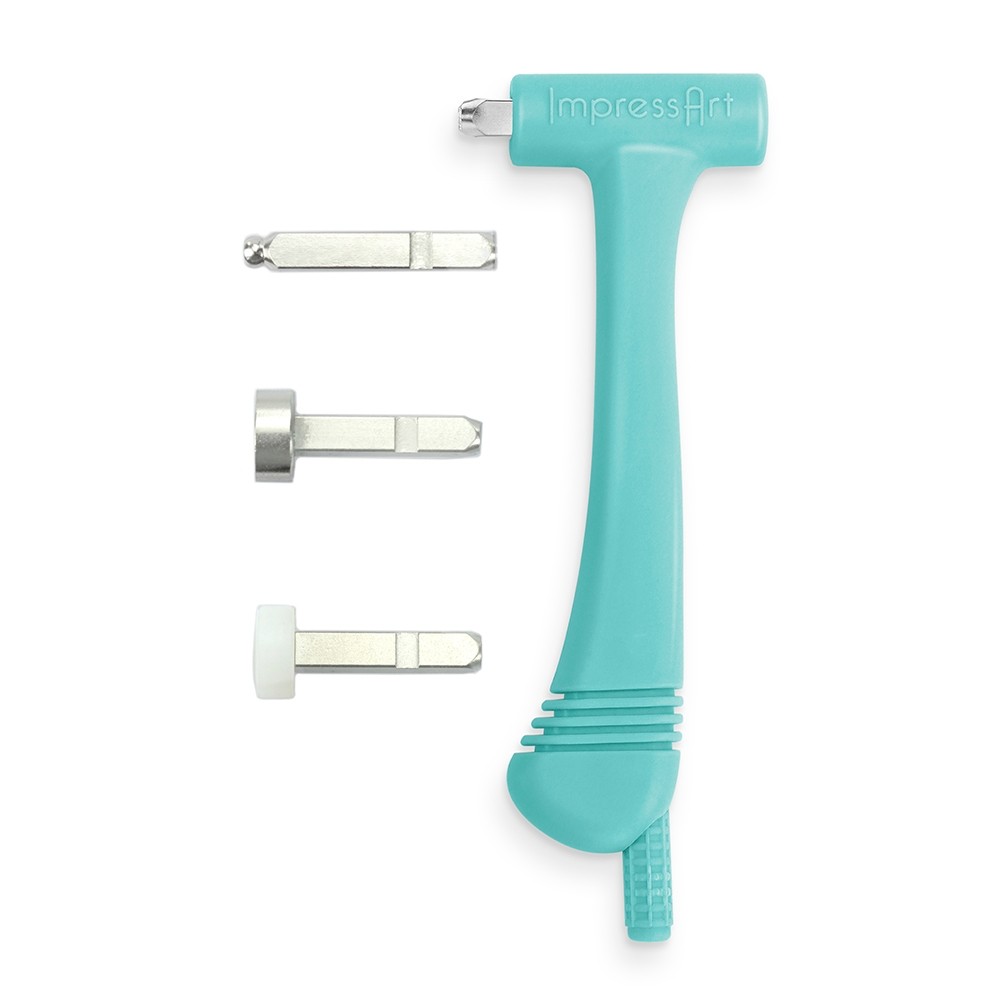
Using all the above techniques, stamp a scenery on the oval bezel insert blank. Add texture to the edges of the blank with the Multi-Function Hammer. Place ball pein texture stamp in the Multi-Function Hammer, with the notch in the stamp facing down. Secure stamp in the hammer by tightening the screw at the bottom of the hammer. Hold the hammer with your palm of your hand over the screw. Use one finger, off to the side, to hold the blank in place. Then stamp only the edge of the blank repeatedly with medium force until the entire outside edge of the blank is textured with a bevel effect.
TIP: Make sure you don't over texture the hole on the blank.
Step 7
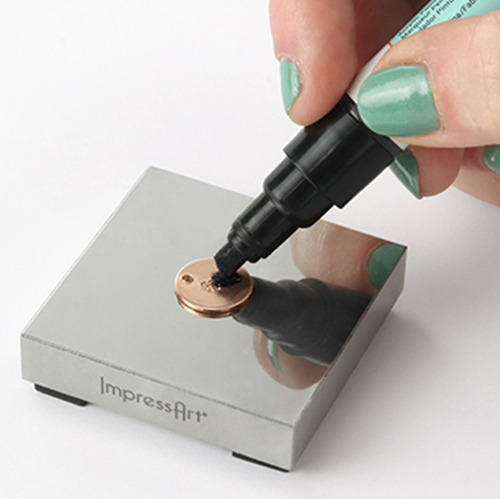
Highlight desired stamped impressions with Stamp Enamel. Wait 3-5 minutes and then wipe away the excess enamel from the surface of the blanks. Set blanks aside.
Step 8
Create wire wrapped beads by stringing beads onto a headpin. Grab the wire directly above the bead with chain nose pliers and bend the wire to a 90-degree angle. Then use round nose pliers to grab the wire right at the bend. Wrap the wire all the way around the top jaw of the round nose pliers. Then with the wire still in the pliers jaws, rotate the round nose pliers so that the bottom jaw is on top. Continue to wrap wire around the bottom jaw until a round loop is formed. Next, hold the round loop with chain nose pliers and wrap the wire down the headpin towards the bead. Cut excess wire with flush cutters. Use chain nose pliers to tuck in the remaining tip of the wire so no sharp edges are sticking out. Repeat to complete desired amount of wrapped beads. Set wire wrapped beads aside.
Step 9
Buff stamped blanks to a brilliant, high-shine finish using High Polish Finish Blocks. Use fine grit to quickly clean and polish blanks. Hold buffing block in the palm of the hand and move the block in even, back and forth strokes to remove dirt and dried enamel left on the raised surfaces. Use extra fine grit for buffing to a high shine. Hold buffing block in the palm of hand and buff in tiny, back and forth strokes with light pressure to get a mirror-like shine. Set stamped blanks aside
Step 10
Attached stamped blanks and wire wrapped beads to the washer using jump rings. Use the tips of two chain nose pliers to grasp the sides of a jump ring, with the opening of the jump ring facing up between the two pliers. Laterally twist each side of the jump ring in opposite directions to open the ring. Slide a stamped blank onto the jump ring, and then slide the jump ring through the desired hole on the washer. Laterally twist the jump ring back with tension to close. Repeat technique to attach all remaining blanks to the washer. Attach the wire wrapped beads by placing the jump ring around the washer, in between the holes of the dangling stamped blanks. Use an additional jump ring to extend the length of the dangling wire wrapped bead.
TIP: Do not pull outwards on jump rings as it will weaken the metal and distort the circular shape.
Step 11
Create a double-strand chain by connecting the two ball chains together at each end. Remove the clasp from both chains by opening the jump ring that connects the clasp onto the necklace. Then attach both open jump rings to a single new jump ring. Finally, attach the single new jump ring to one of the clasps that were removed. Repeat the same technique to connect the other side of the necklaces together.
Step 12
Attach the ball chain necklaces to the top of the washer using a jump ring. Close clasp to complete the necklace.
