Step 1
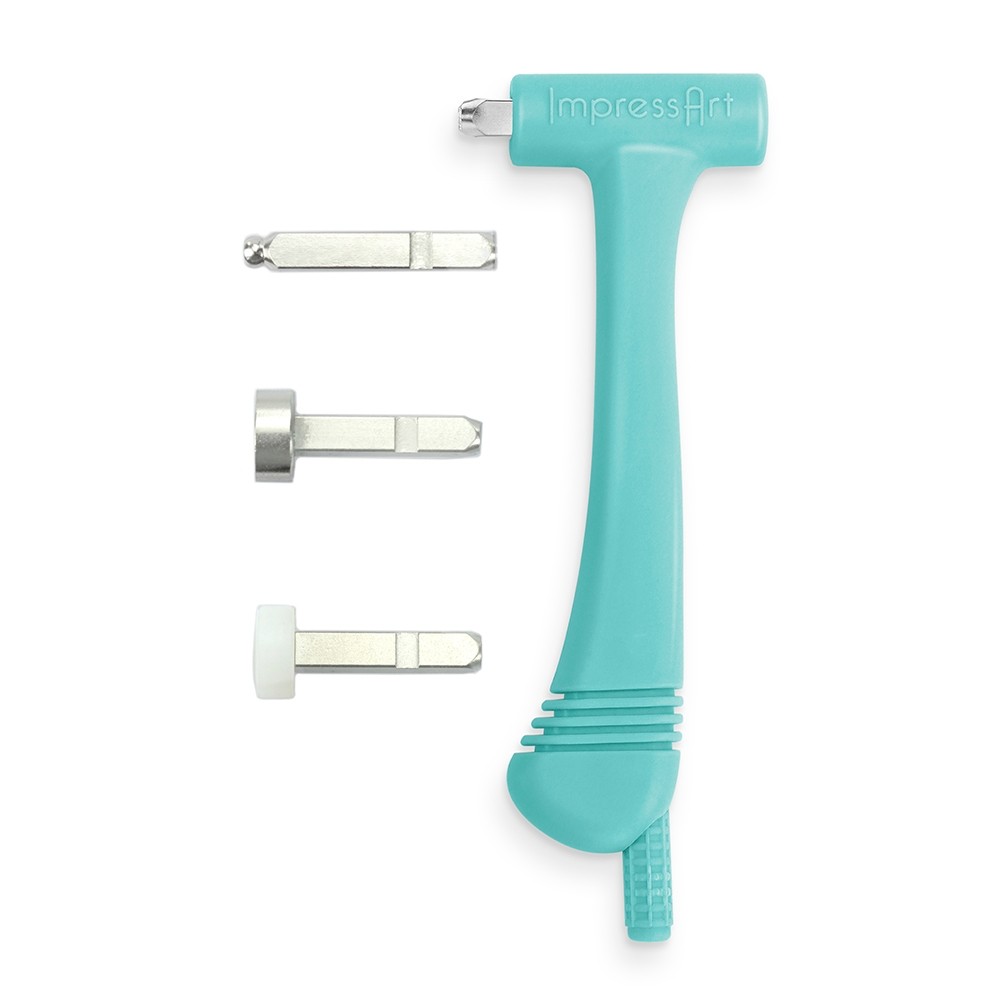
Place texture stamp of your choice in the Multi-Function Hammer, with the notch in the stamp facing down (when notch is available). Secure stamp in the hammer by tightening the screw at the bottom of the hammer.
Step 2
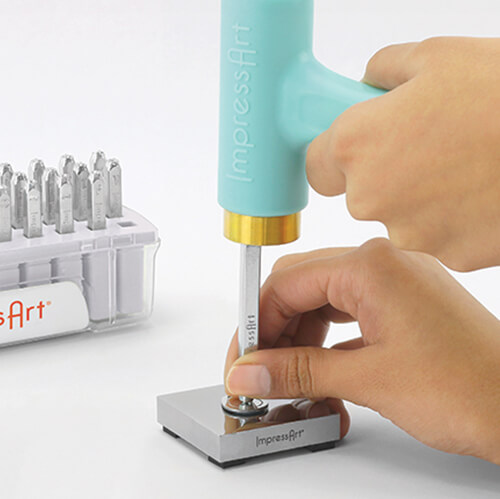
Set eclipse outline stamping blank on stamping block. Hold the hammer with your palm of your hand over the screw and use one finger, off to the side, to hold the blank in place. Then stamp the blank repeatedly with medium force until the entire blank is textured.
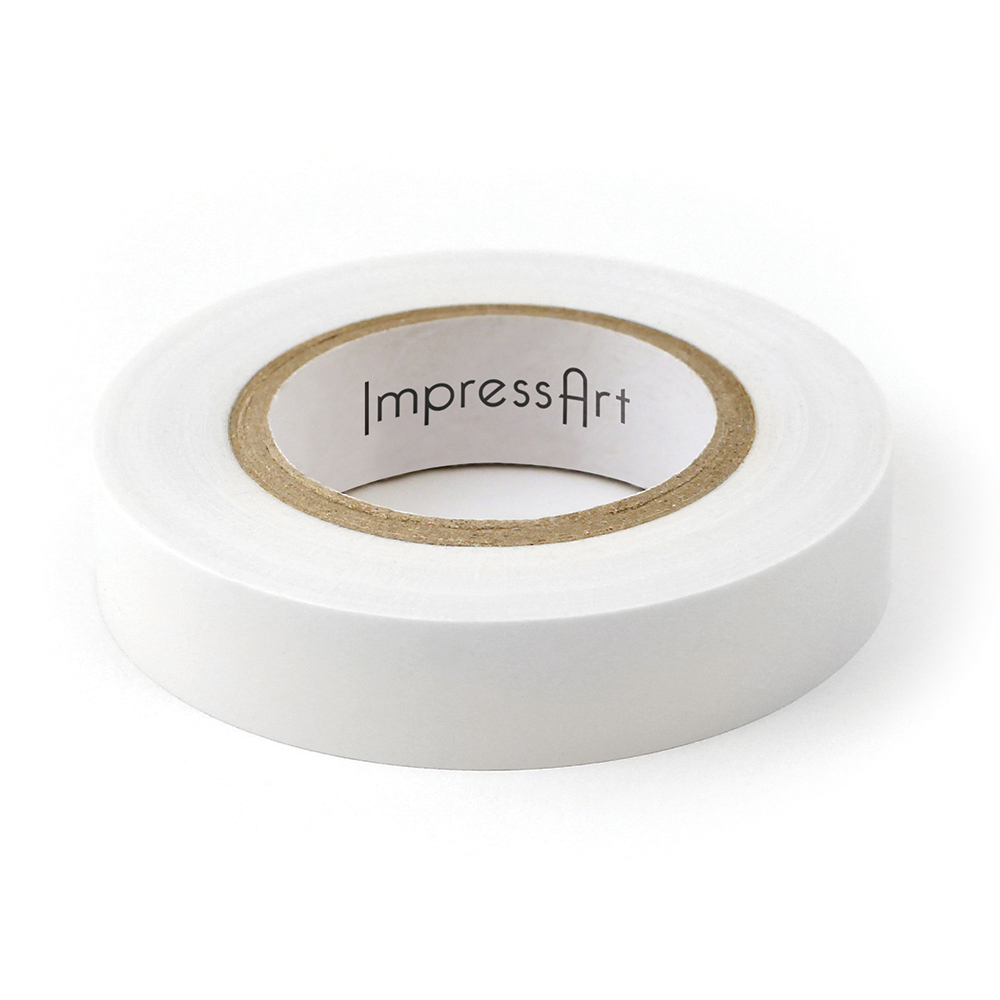
TIP: Use stamp tape to secure the blank to the stamping block so it doesn’t move while texturing. You will be able to texture the blank through the tape.
TIP: Make sure you don't over texture the hole on the blank.
Step 3
Place ¾” circle stamping blank on stamping block. Secure a straight stamp guide on blank. Use the guide marks to evenly space out letters and align stamp impressions.
TIP: Use stamp tape to secure the blank to the stamping block so it doesn’t move while stamping.
TIP: Write desired message directly onto the stamp guide and utilize the guideline marks for spacing.
Step 4
Place stamp on blank, above the corresponding mark on the stamp guide. Lightly drag stamp towards the guide until the stamp catches the edge of the guide. Hold stamp flat and firmly in place by anchoring the side of your hand on workspace. Then strike the stamp once with medium force using Metal Stamping Hammer. Repeat to complete desired word. Remove stamp guide.
TIP: If the stamp has an ImpressArt logo, make sure it is facing you so that the impression is stamped in the correct direction.
TIP: Slightly tilt the stamp towards you while dragging the stamp towards the guide. Make sure you hold the stamp flat and firmly in place before striking the stamp.
Step 5
Repeat stamping technique to stamp date, initials, words, or message on rectangle stamping blank.
Step 6
Place crescent embellishment stamping blank on stamping block. Stamp vertically down the blank by moving the straight stamp guide down after each impression.
Step 7
Center the pattern grid over the ½” circle blank to secure it to the stamping block. Start pattern from the center using the lines and circles marks as guides to assist with spacing. Create designs using letters from letter sets as well as the crystal setter stamps. Continue stamping to the outside edge of the blank, turning the stamping block while working to complete the curricular pattern. This will ensure that the stamp is facing the correct direction. Remove the pattern grid.
Step 8
Center the zodiac constellation guide over square stamping blank. Use guide marks to stamp zodiac design, working from largest star to smallest. For a spark of color, stamp select stars with the crystal setter. Remove stamp guide.
Step 9
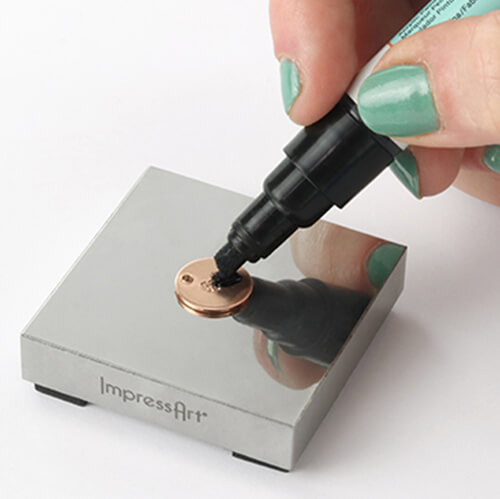
Highlight impressions with Stamp Enamel. Wait 3-5 minutes and then wipe away the excess enamel from the surface of the blanks.
Step 10
Secure flat back crystals inside stamped divot impressions with jewelry adhesive, and allow to dry. Use tweezers to help set crystals in place, making sure not to scratch the crystals.
Step 11
Use the jewelry adhesive to secure stamped blank inside bezel.
Step 12
String a bead onto a headpin. Grab the wire directly above the bead with chain nose pliers and bend the wire to a 90-degree angle. Then use round nose pliers to grab the wire right at the bend. Wrap the wire all the way around the top jaw of the round nose pliers. Then with the wire still in the pliers jaws, rotate the round nose pliers so that the bottom jaw is on top. Continue to wrap wire around the bottom jaw until a round loop is formed. Next, hold the round loop with chain nose pliers and wrap the wire down the headpin towards the bead. Cut excess wire with flush cutters. Use chain nose pliers to tuck in the remaining tip of the wire so no sharp edges are sticking out.
Step 13
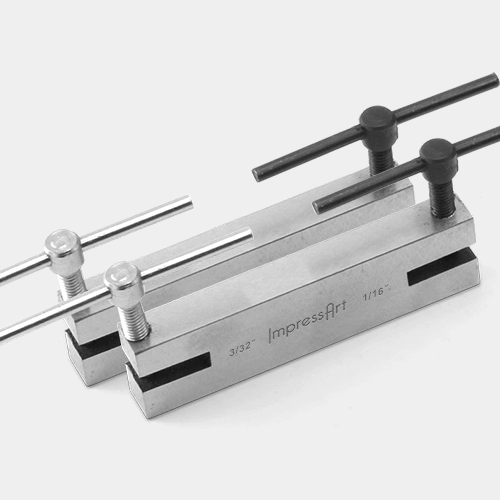
Pierce holes in the top two corners of the eclipse outline blank as well as the stamped rectangle blank using the 1/16” punch of the 2 Hole Screw Down Punch. Simply turn the handle of the screw down punch until the punch pierces through the stamping blank. Twist the handle of the screw down punch in the opposite direction to raise the punch and remove blank.
TIP: Make sure not to screw the punch down too much as this will mar the surface of the blank and leave an unwanted impression of the base of the screw.
Step 14
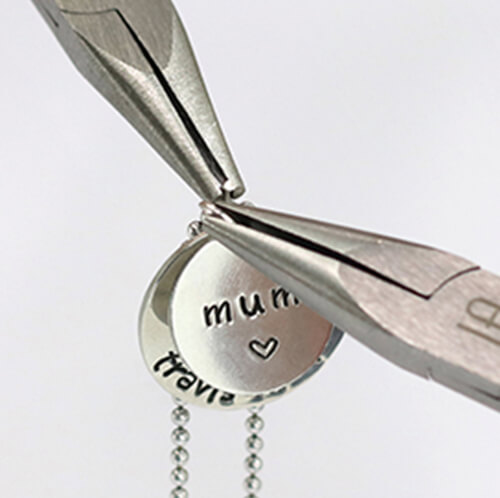
Use the tips of two chain nose pliers to grasp the sides of a jump ring, with the opening of the jump ring facing up between the two pliers. Laterally twist each side of the jump ring in opposite directions to open the ring. Slide blank and outside edge of the eclipse outline blank onto jump ring. Laterally twist the jump ring back with tension to close. Repeat to attach with remaining blanks and wire wrapped bead to eclipse outline blank.
NOTE: Do NOT pull outwards on the jump ring as it will weaken the metal and distort the circular shape of the ring.
Step 15
Connect the ball chain necklaces to the eclipse outline pendant by using the same jump ring technique. Remove the lobster clasp from one of the necklaces, and attach this side of the ball chain to the eclipse moon. Then remove the extender chain from the second ball chain necklace and attach this side of the ball chain to the other side of the eclipse necklace.
Step 16
Close clasp to complete the necklace.


