Step 1
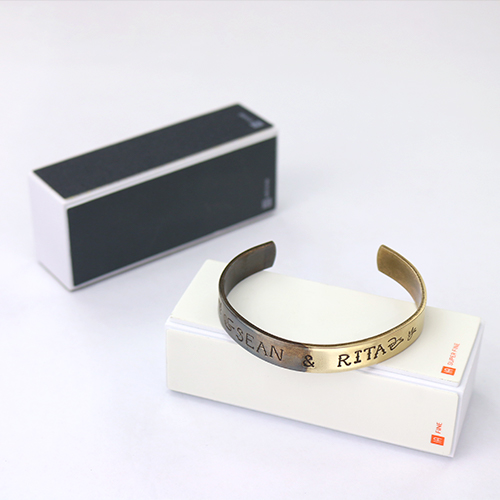
Cut the end off of one side of the bracelet blank using metal shears.
Use coarse grit on the Matte Finish Buffing Block to soften any sharp edges. Hold the buffing block in the palm of hand and use downward strokes with moderate pressure to file sharp edges. Repeat until edges are smooth to touch.
Note: Be sure not to scratch the surface of the blank.
(Optional) Buff surface of the blank to a matte finish using Matte Finish Buffing Blocks. Use medium grit to create a brushed matte textured surface. Hold buffing block in palm of hand and use even, smooth downward strokes to buff the surface to a matte finish. Repeat until desired texture is achieved.
Step 2
Rotate stamping block so it's positioned in a diamond shape. Then place cut bracelet blank vertically on stamping block.
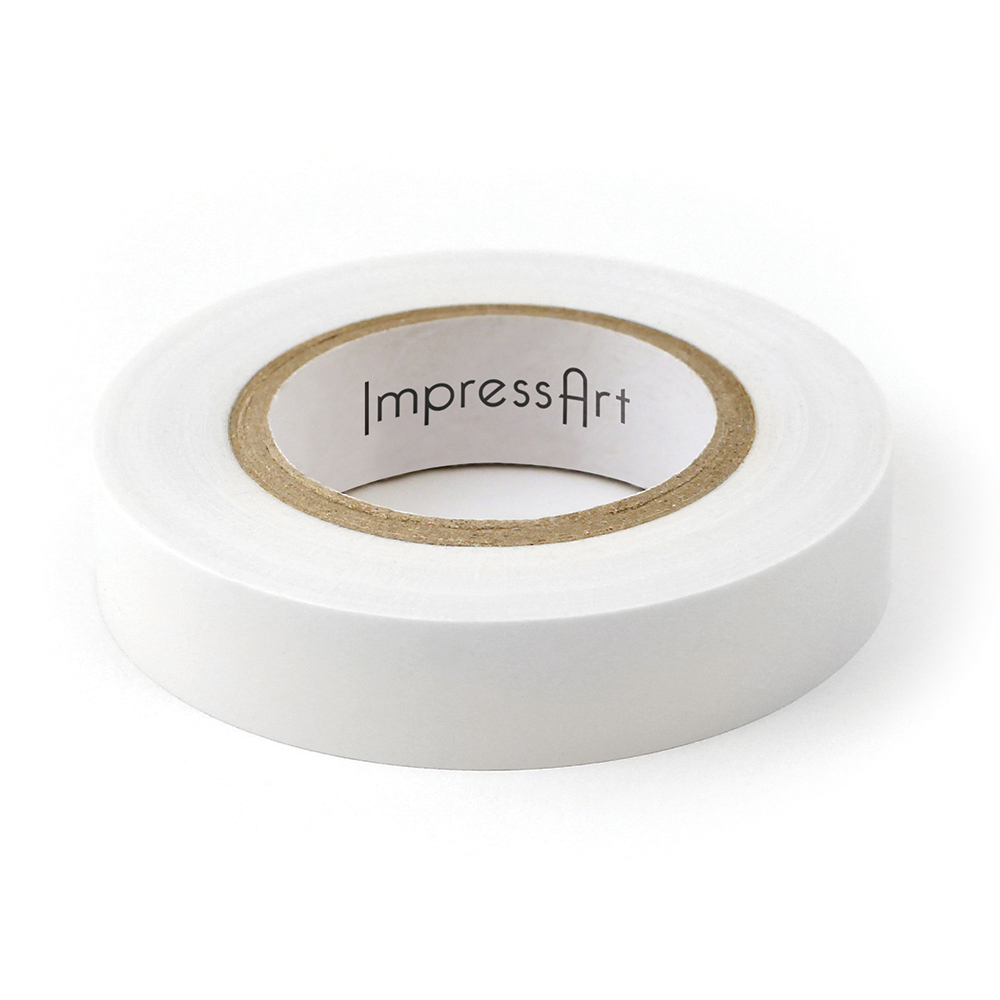
TIP: Use stamp tape to secure the bracelet blank to the stamping block so it doesn’t move while stamping.
Step 3
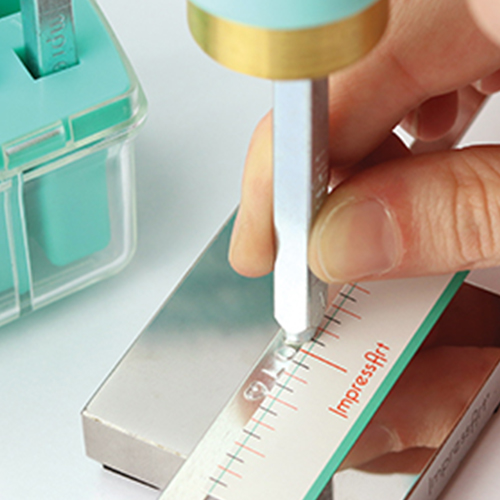
Secure a straight stamp guide on the bracelet blank. Use the guide marks to evenly space out letters and align stamp impressions.
TIP: Write desired message directly onto the stamp guide and utilize the guideline marks for spacing.
Step 4
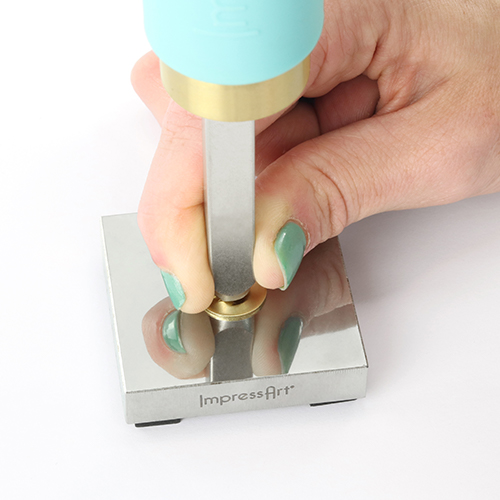
Place stamp on blank, above the corresponding mark on the stamp guide. Lightly drag stamp towards the guide until the stamp catches the edge of the guide. Hold stamp flat and firmly in place by anchoring the side of your hand on workspace. Then strike stamp once with medium force using Metal Stamping Hammer. Repeat to complete desired word.
TIP: Slightly tilt the stamp towards you while dragging the stamp towards the guide. Make su
TIP: Harder metals and stamps with more detail require a harder strike than softer metals and stamps with less detail.
NOTE: For lowercase letters g, j, p, q, y: Place bottom of the stamp on the thin horizontal blue line that runs through the guide marks.
Step 5
After stamping the first line, move the straight stamp guide down and repeat the technique to finish stamping any additional lines.
TIP: If stamp guide becomes unusable due to rips or markings, then use a new straight stamp guide to complete the project.
Step 6
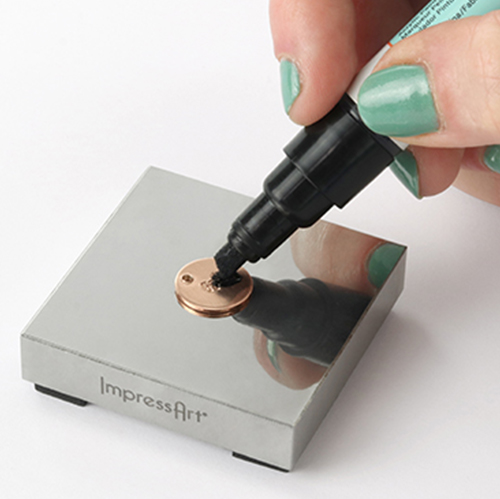
Highlight impressions with Stamp Enamel. Wait 3-5 minutes and then dab the excess enamel into the impressions with a paper towel before lightly wiping it away from the surface of the blank.
Step 7
Use the fine and super fine grit on the High Polish Finishing Block to clean and buff metal to a high shine. Or use the medium grit on the Matte Finish Buffing Block to create a brushed matte surface.
Note: High Polish Finish Blocks & Matte Finish Buffing blocks can be used on all ImpressArt blanks excluding ImpressArt Artisan collection plated blank.


