30% Off Sitewide + Deep Freeze Deals!

Pockets Full of Posies

SKILL LEVEL : Advanced

Adorn your fingers instead of your pockets with beautiful hand-stamped blooms that will last a lifetime! Wear these dainty floral hand-stamped rings separate...or stacked together to create your own festive finger bouquet worth showing off to family and friends. Happy Spring!

Step 1

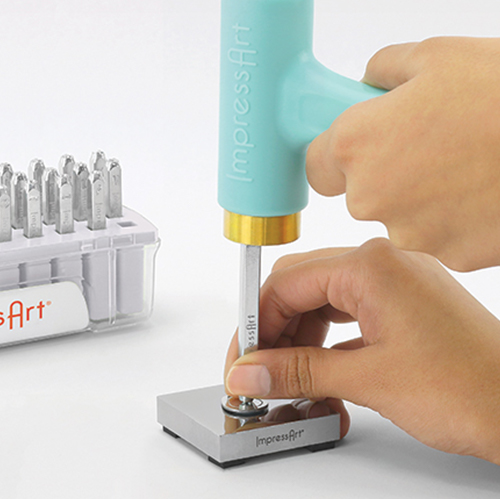
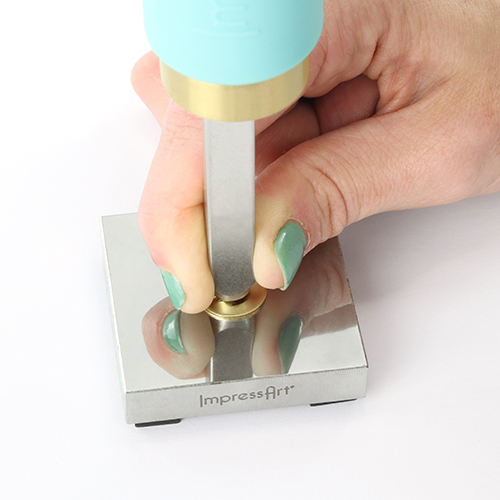
Place blank on stamping block. Position flower Design Stamp on the blank. Use the Tilt & Tap technique to stamp 6mm and larger stamps, or stamps with more details. While applying pressure to the stamp, strike once with medium force. Then without lifting stamp, continue to strike while very slightly tilting the stamp in a circular motion to catch all sides of the design.

TIP: If the stamp has an ImpressArt logo, make sure it is facing you so that the impression is stamped in the correct direction.

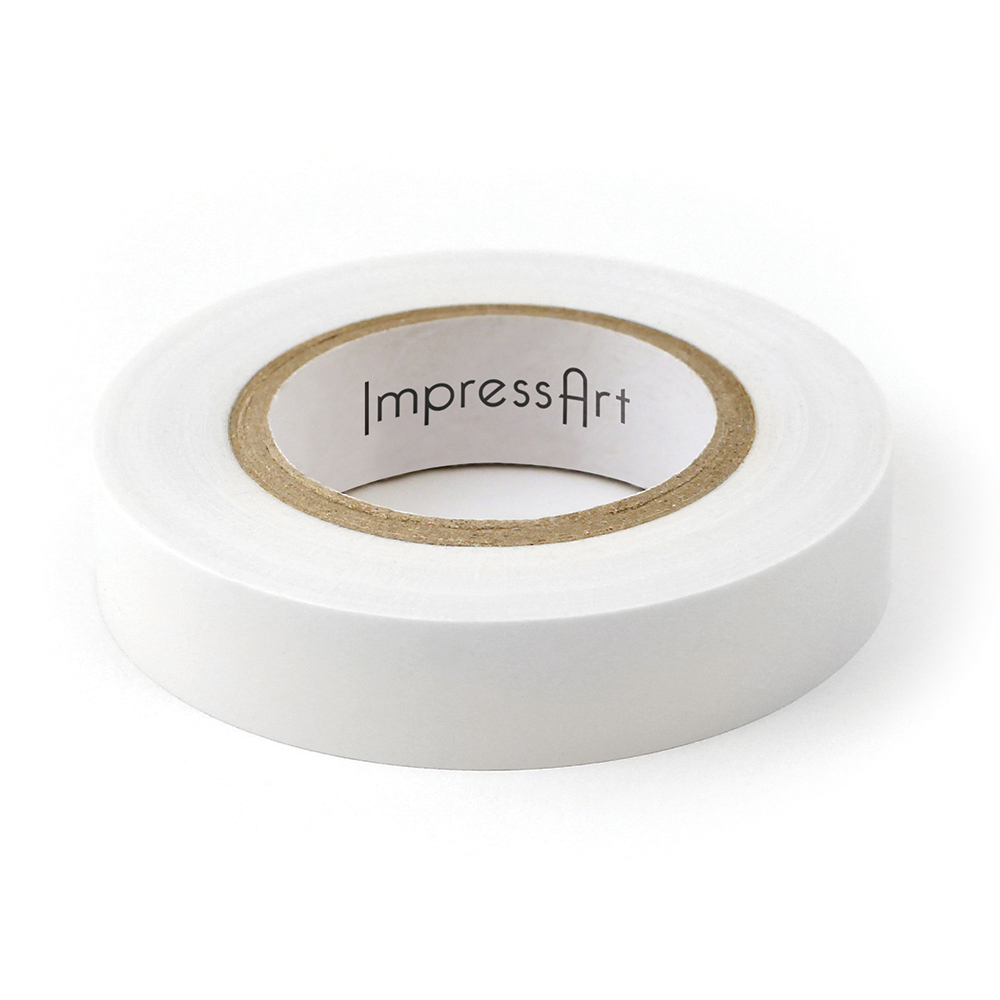
TIP: Use stamp tape to secure the blank to the stamping block so it doesn’t move while stamping.

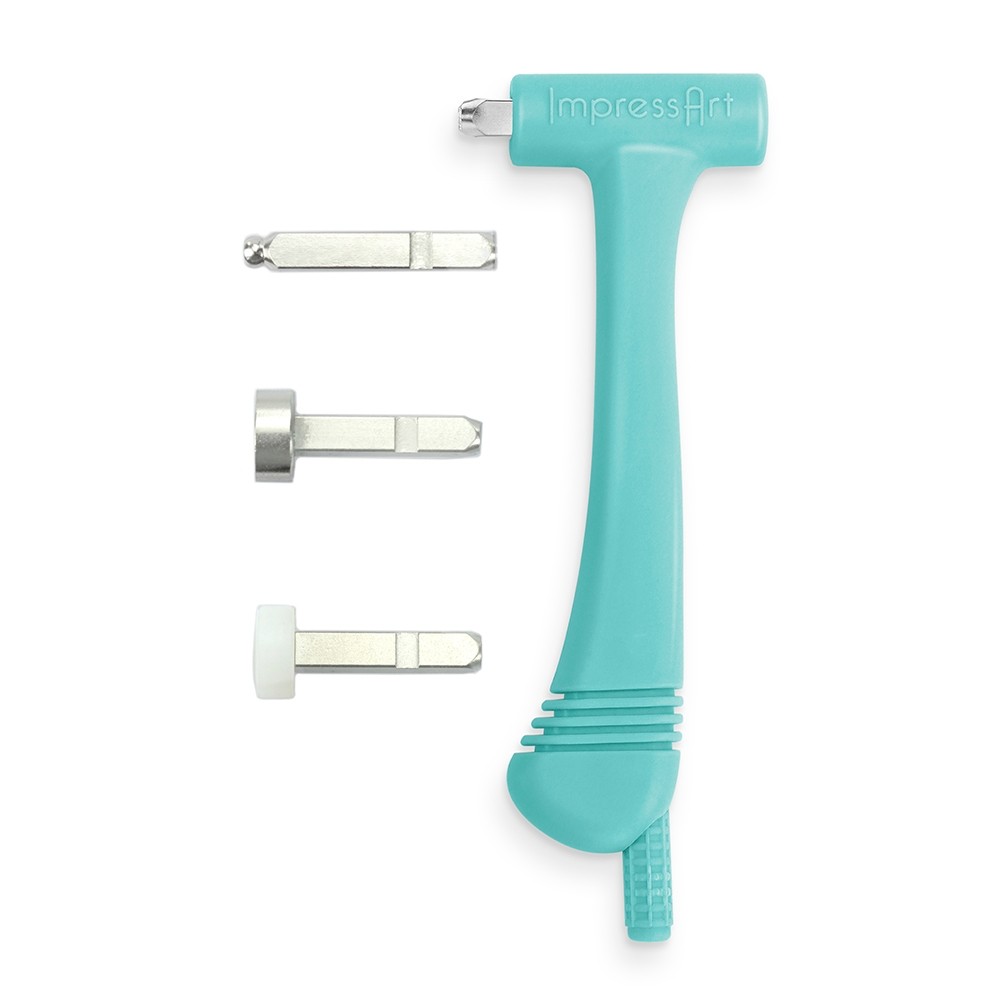
TIP: Create a bevel effect around the edge of the stamping blank by using a ball pein texture stamp in the ImpressArt Multi-Function Hammer. Stamp only the edge of the blank repeatedly with medium force until the entire outside edge of the blank is textured.

Note: Harder metals and stamps with more detail require a harder strike than softer metals and stamps with less detail.

Step 2

Position blank, stamped side up, inside dapping cavity of dapping block. Hold punch in the center of blank and tap the punch with the Metal Stamping Hammer. Then continue to tap the punch while rotating the punch at an angle in the dapping cavity until blank is evenly domed into a concave shape.

To create more of a dome, move the blank to the next smallest dapping cavity. And repeat the dapping process. Set blank aside.

Note: Blanks should be gradually dapped. Start from a larger dapping cavity and work down in size until desired doming effect is achieved.

Step 3

Create a ring size guide using a strip of 1/4 inch wide paper. Wrap strip around finger and mark where the ends meet.

Step 4

Use the ring size guide to determine the desired length of string silver wire. Cut the sterling silver wire using a jeweler's saw, making sure that the blade is lubricated and you are using a steady downward motion.

Step 5

Use the coarse grit on buffing block or a file to sand the ends of the wire so that they are even.

Step 6

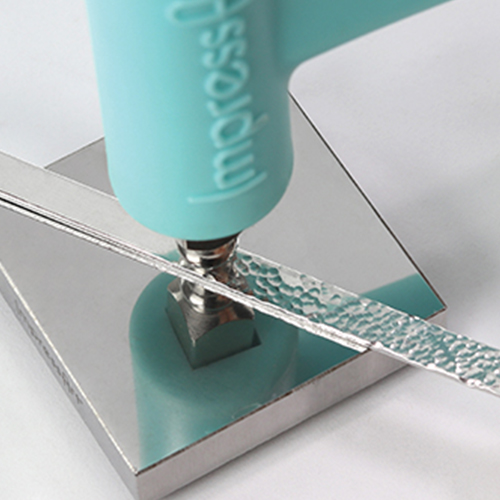
(Optional) Place ball pein texture stamp in the Multi-Function Hammer, with the notch in the stamp facing down. Secure stamp in the hammer by tightening the screw at the bottom of the hammer.

Set wire on stamping block. Hold the hammer with your palm of your hand over the screw. Then while holding the bracelet in place, stamp only the edge of the blank repeatedly with light-medium force until the entire wire is textured.

TIP: Use stamp tape to secure the wire to the stamping block so it doesn’t move while texturing. You will be able to texture the wire through the tape.

Step 7

Form the piece of cut wire into a circular shape using Ring Bending Pliers. Make sure that the ring ends are even and close together.

Step 8

Apply soft solder to the joint using a solder pick. Solder the ends of the wire together using a torch on top of a soldering brick. No need to be aggressive with the torch, slow circular motions will distribute the heat to the ring and the solder will flow.

Step 9

Pick heated ring up with tweezers/tongs and slowly place it in the quenching bowl filled with water. Then remove the ring and place it in the pickle pot filled with pickle solution.

Step 10

Take ring out of the pickle pot and dry it off completely. Repeat Step 8 & Step 9 to solder the dapped stamped blank onto the ring.

Step 11

Completely dry off the ring, and drop it onto a steel ring mandrel. Use a rawhide mallet to form it into shape.

Step 12

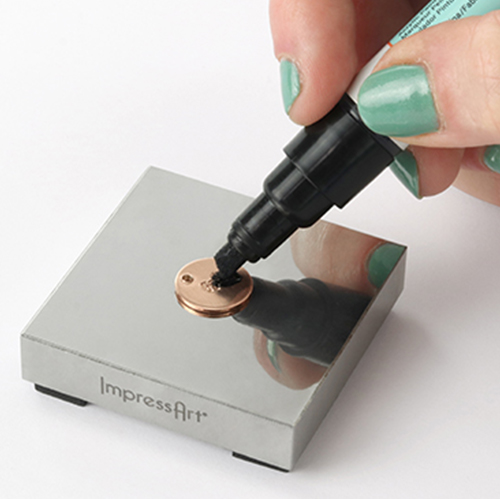
Highlight stamped impressions with Stamp Enamel. Wait 3-5 minutes and then wipe away the excess enamel from the surface of the blank.

Step 13

Use the fine and super fine grit on the High Polish Finishing Block to clean and buff metal to a high shine. Note: High Polish Finish Blocks & Matte Finish Buffing blocks can be used al ImpressArt blanks excluding ImpressArt Artisan collection plated blank

Step 14

Further personalize the ring by securing a birthstone crystal to the center of the dapped blank using jewelry adhesive. Allow the ring to dry before wearing. Use tweezers to help set crystals in place, making sure not to scratch the blank and/or crystal.