Step 1
Place rectangle tag on stamping block. Secure a straight stamp guide on the tag. Use the guide marks to evenly space out letters and align stamp impressions.
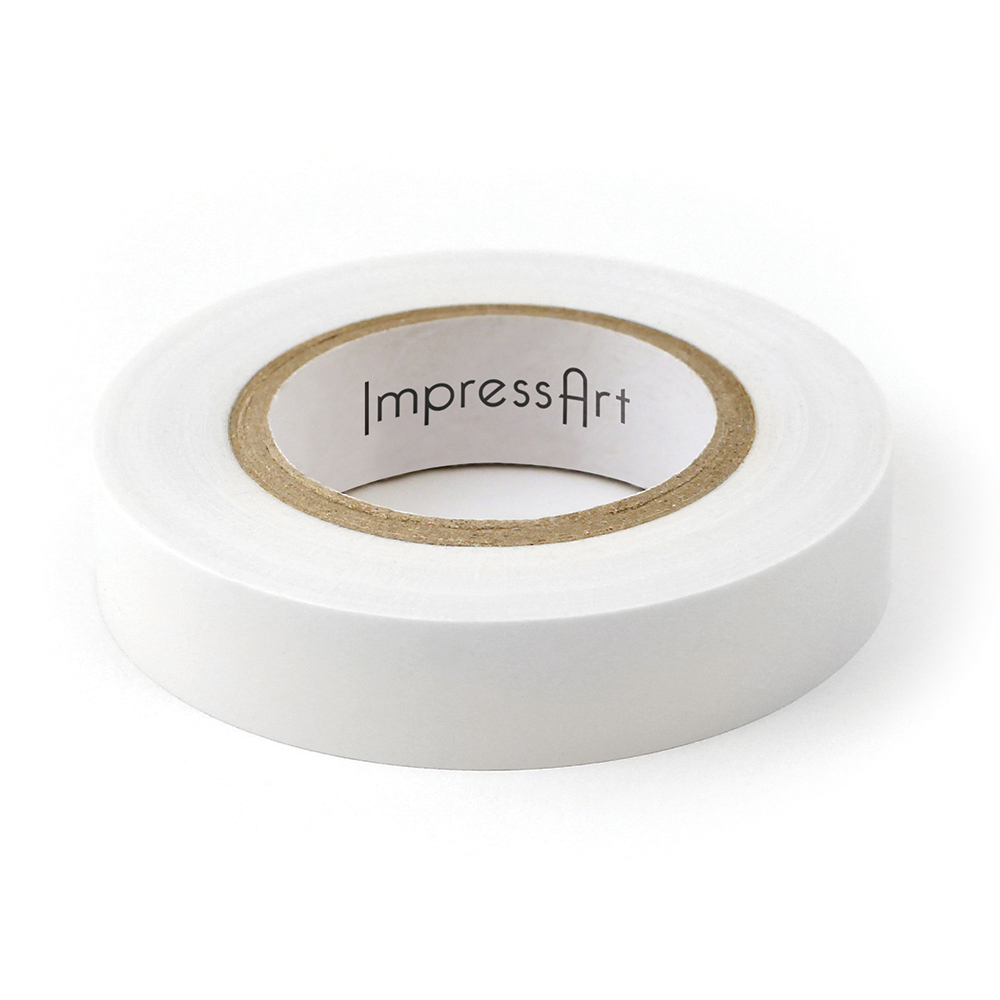
TIP: Use stamp tape to secure the rectangle tag to the stamping block so it doesn’t move while stamping.
TIP: Write desired message directly onto the stamp guide and utilize the guideline marks for spacing.
Step 2
Place stamp on rectangle tag, above the corresponding mark on the stamp guide. Lightly drag stamp towards the guide until the stamp catches the edge of the guide. Hold stamp flat and firmly in place by anchoring the side of your hand on workspace. Then strike the stamp once with medium force using Metal Stamping Hammer. Repeat to complete desired word.
TIP: If the stamp has an ImpressArt logo, make sure it is facing you so that the impression is stamped in the correct direction.
TIP: Slightly tilt the stamp towards you while dragging the stamp towards the guide. Make sure you hold the stamp flat and firmly in place before striking the stamp.
NOTE: For lowercase letters g, j, p, q, y: Place bottom of the stamp on the thin horizontal blue line that runs through the guide marks.
Step 3
After stamping the first line, move the straight stamp guide down and repeat the technique to finish stamping any additional lines.
TIP: If stamp guide becomes unusable due to rips or markings, then use a new straight stamp guide to complete the project.
Step 4
Stamp design stamps of your choice around the stamped words to further personalize the rectangle tag.
TIP: Use the Tilt & Tap technique to stamp 6mm and larger stamps, or stamps with more details. While applying pressure to the stamp, strike once with medium force. Then without lifting stamp, continue to strike while very slightly tilting the stamp in a circular motion to catch all sides of the design.
Step 5
Use the 3/32” punch of the Two Hole Screw Down Hole Punch to pierce a hole in the rectangle tag. Simply turn the handle of the screw down punch until the punch pierces through the stamping blank. Twist the handle of the screw down punch in the opposite direction to raise the punch and remove blank.
TIP: Make sure not to screw the punch down too much as this will mar the surface of the blank and leave an unwanted impression of the base of the screw.
Step 6
Highlight impressions with Stamp Enamel. Wait 3-5 minutes and then wipe away the excess enamel from the surface of the blank.
Step 7
Use flush cutters to cut desired length of ball chain by placing the ball chain towards the back of the flush cutter’s jaws and squeezing the handle.
Step 8
Side stamped rectangle tag onto the ball chain. Then attach the tag to your luggage.