Step 1
Place large square stamping blank on stamping block.
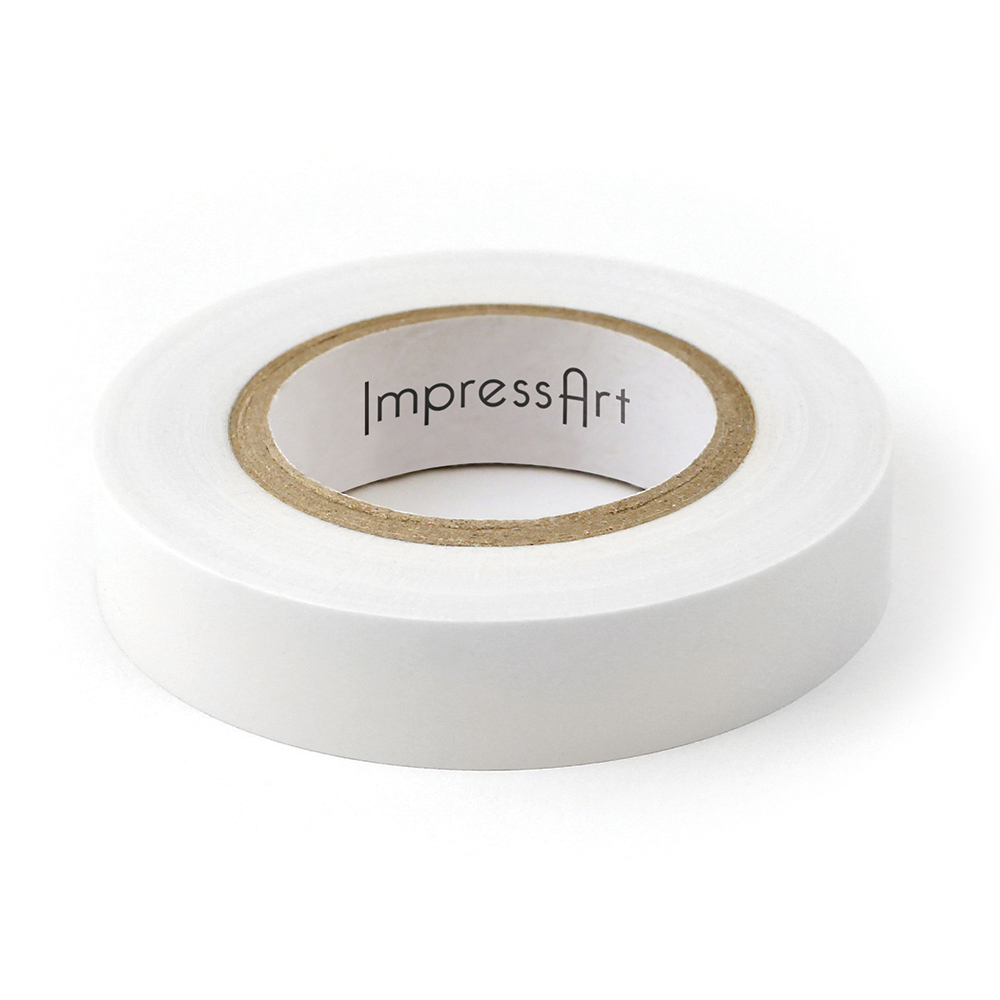
TIP: Use stamp tape to secure the blank to the stamping block so it doesn't move while stamping.
Step 2
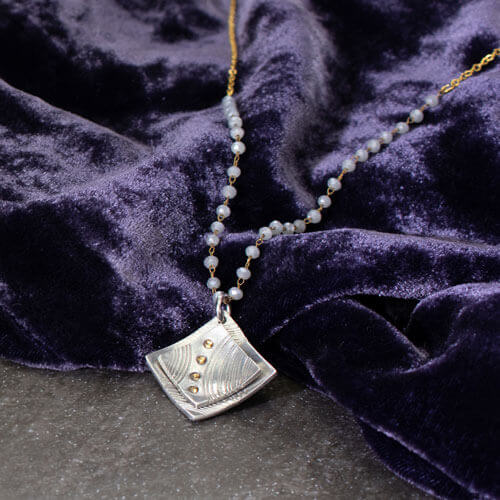
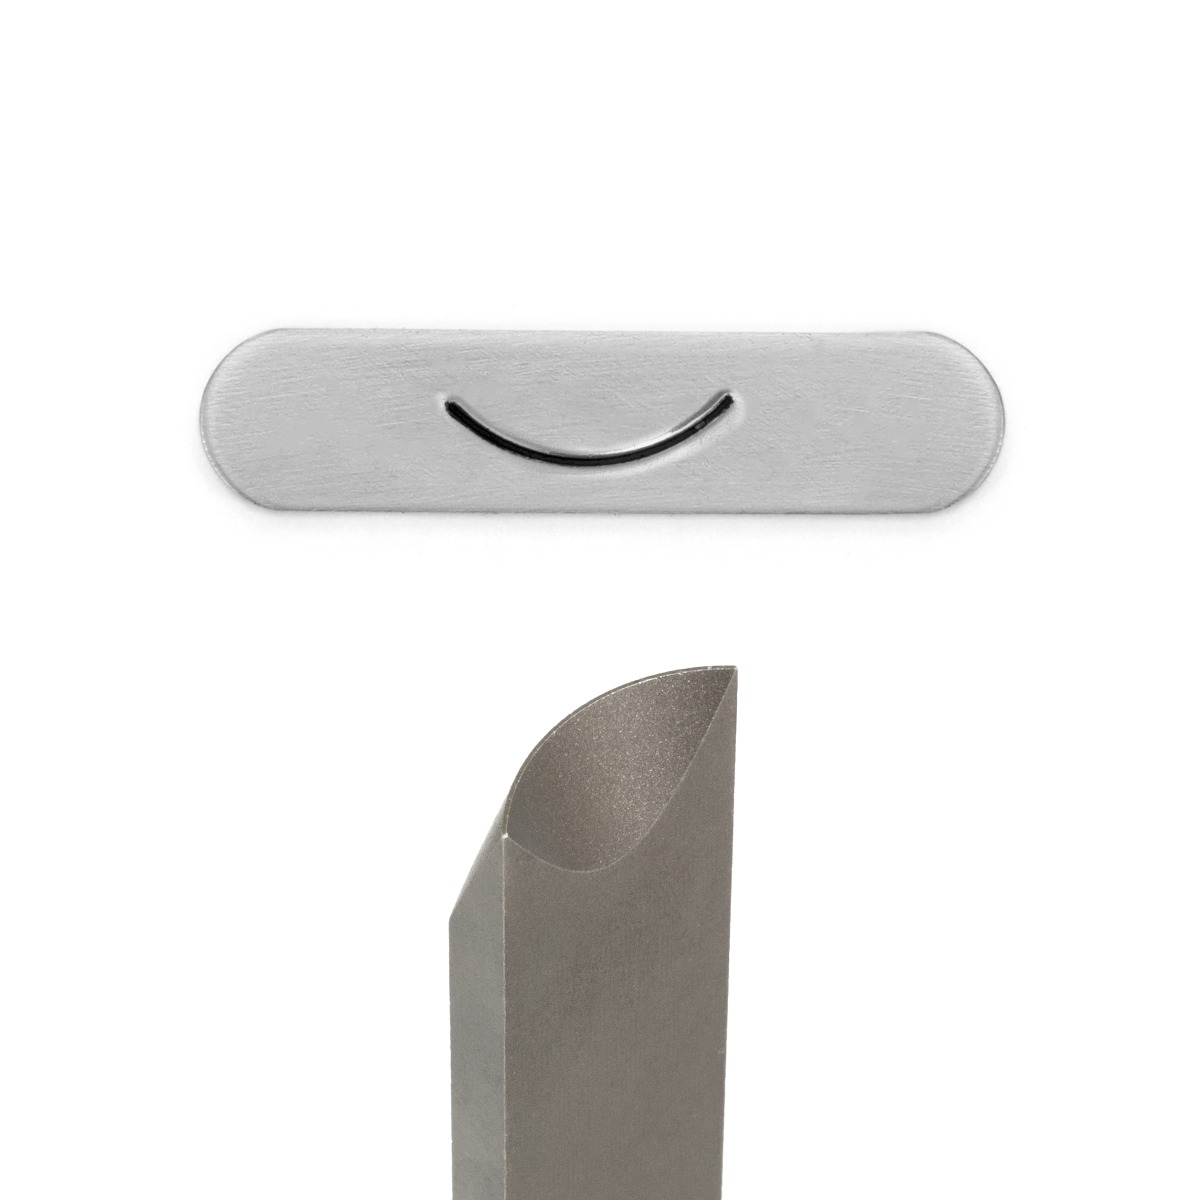
Stamp a curved line design using the Curved Line 19.5mm Metal Stamp.
Position the stamp with the line facing the desired direction of the impression. Place stamp on blank. Hold stamp flat and firmly in place by applying pressure to the stamp and anchoring the side of your hand on workspace.
Use the Tap & Tilt technique to stamp the 19.5mm Curved Line. While applying pressure to the stamp, strike once with medium to hard force. Then without lifting stamp, continue to strike while very slightly tilting the stamp in a circular motion to catch all sides of the curve. Repeat technique to finish stamping curved line design on the large square blank as well as the small square stamping blank.
TIP: Place stamping block (with no rubber feet or padding) on a hard sturdy surface when stamping aluminum, brass, or copper with Curved or Line Metal Stamp.
Step 3
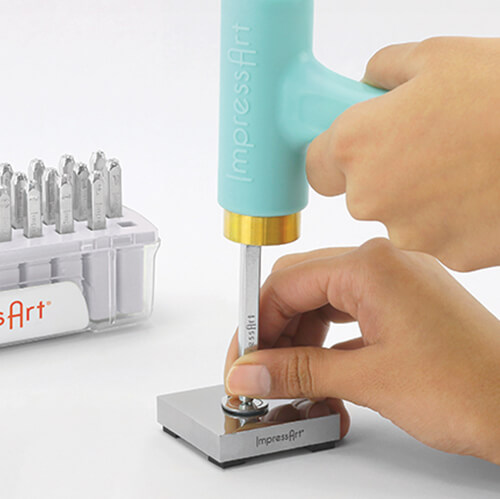
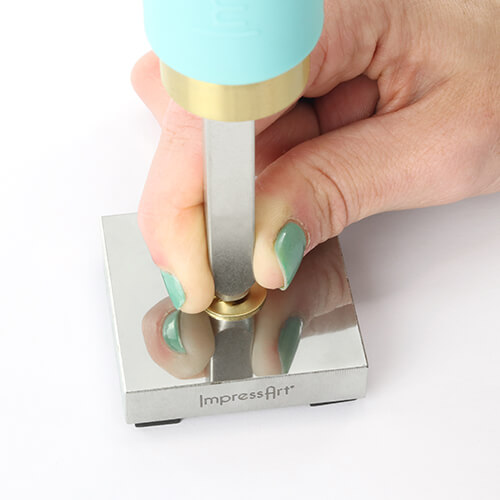
For a spark of color, stamp desired design details with the crystal setter. Hold crystal setter flat and firmly in place on the stamping blank. Strike with medium force using metal stamping hammer until a round indentation is formed in the stamping blank. The indentation should be deep enough so that the edges of the crystal are set in the divot and the top of the crystal protrudes out from the blank.
Step 4
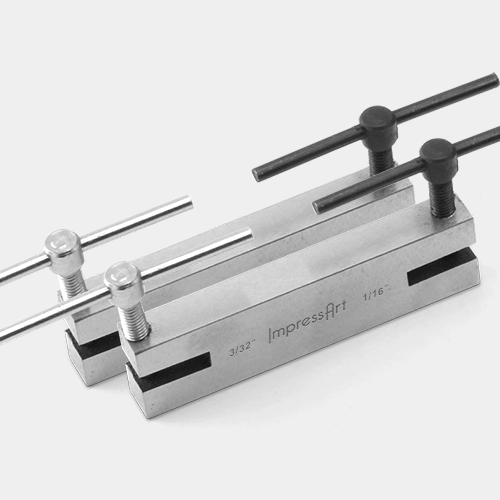
Pierce a hole in one of the corners of the large square blank using the 1/16” punch of the 2 Hole Screw Down Punch. Simply turn the handle of the screw down punch until the punch pierces through the stamping blank. Twist the handle of the screw down punch in the opposite direction to raise the punch and remove blank.
TIP: Make sure not to screw the punch down too much as this will mar the surface of the blank and leave an unwanted impression of the base of the screw.
Step 5
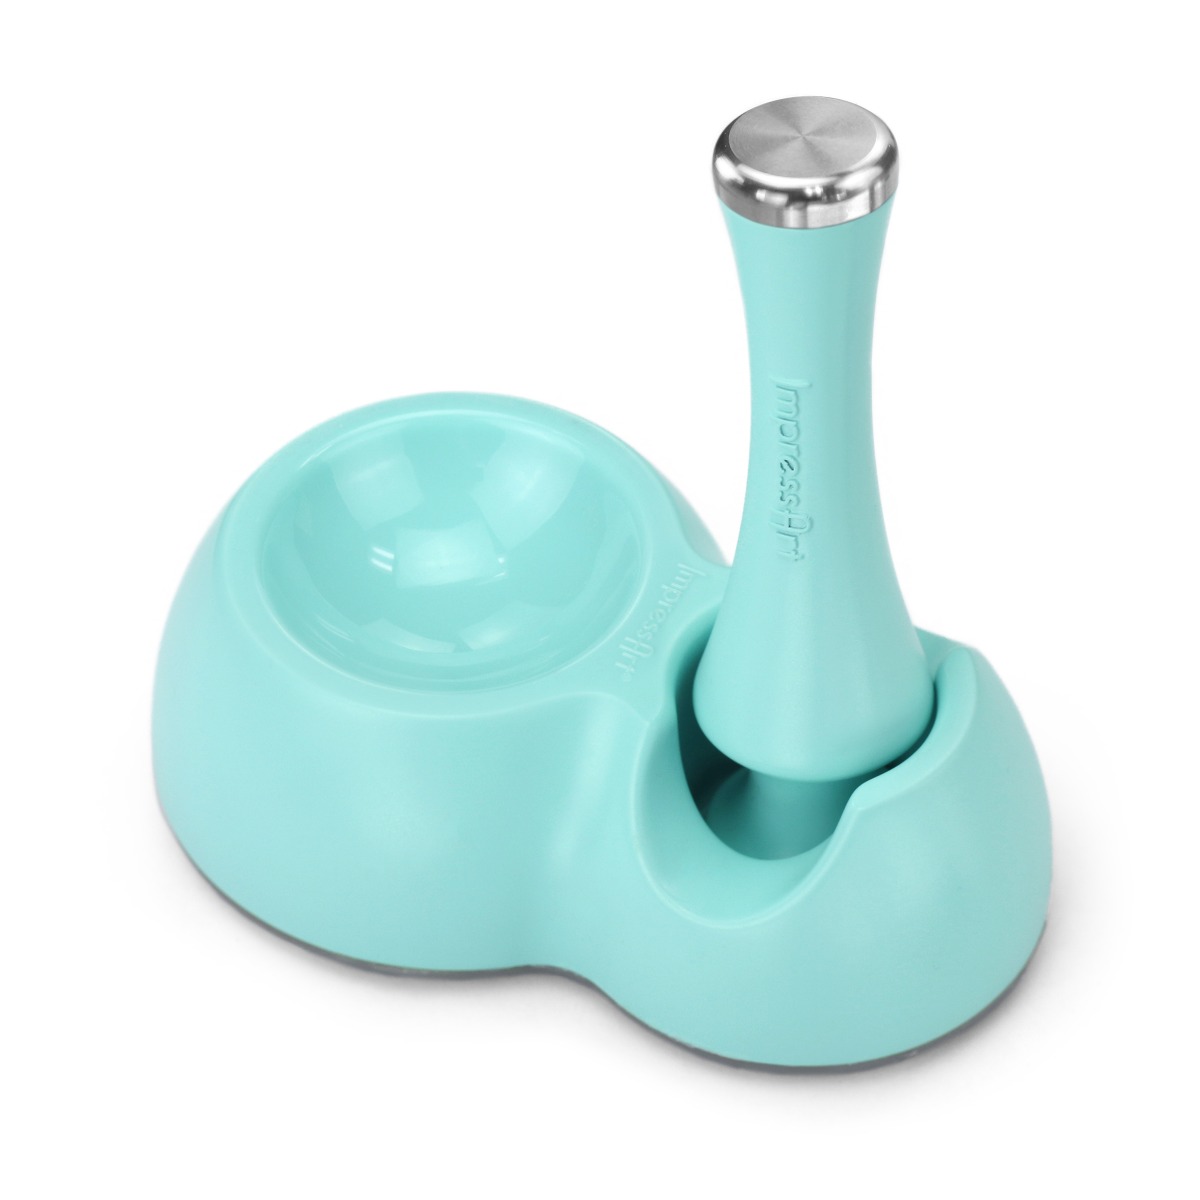
Place small square blank, stamped side up, inside dapping cavity of dapping block. Hold punch in center of blank and tap the punch with the Metal Stamping Hammer until blank is evenly domed into a concave shape. Repeat on remaining large square blank.
Step 6
Secure flat back crystals inside stamped divot impressions with jewelry adhesive. Use tweezers to help set crystals in place, making sure not to scratch the crystals. Then use the jewelry adhesive to adhere the small square blank in the center of the large square blank.
Step 7
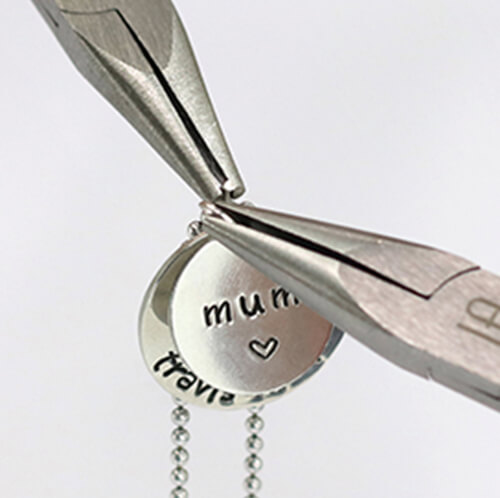
Use the tips of two chain nose pliers to grasp the sides of a jump ring, with the opening of the jump ring facing up between the two pliers. Laterally twist each side of the jump ring in opposite directions to open the ring. Slide stamped pendant and pre-made chain onto jump ring. Laterally twist the jump ring back with tension to close.
NOTE: Do NOT pull outwards on the jump ring as it will weaken the metal and distort the circular shape of the ring.
Step 8
Allow necklace to dry completely before wearing it.
