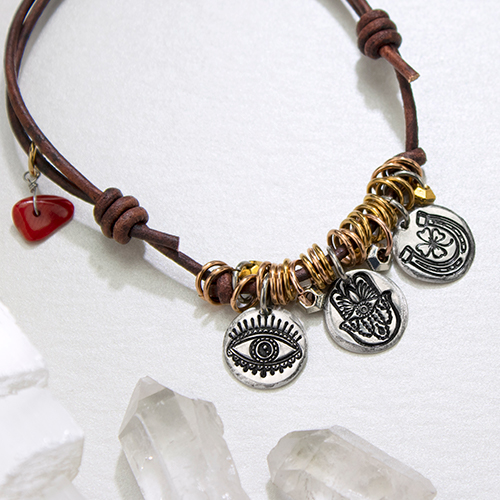
You're in Luck
SKILL LEVEL : Intermediate
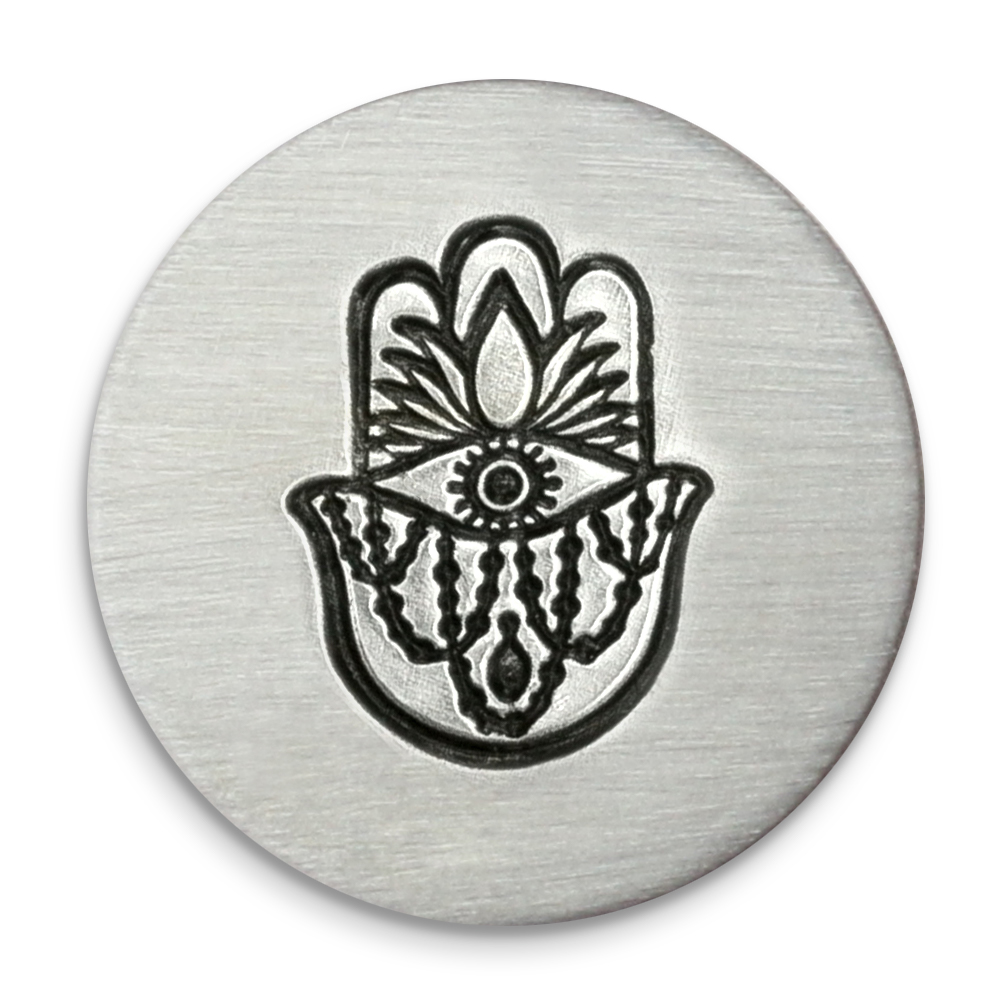
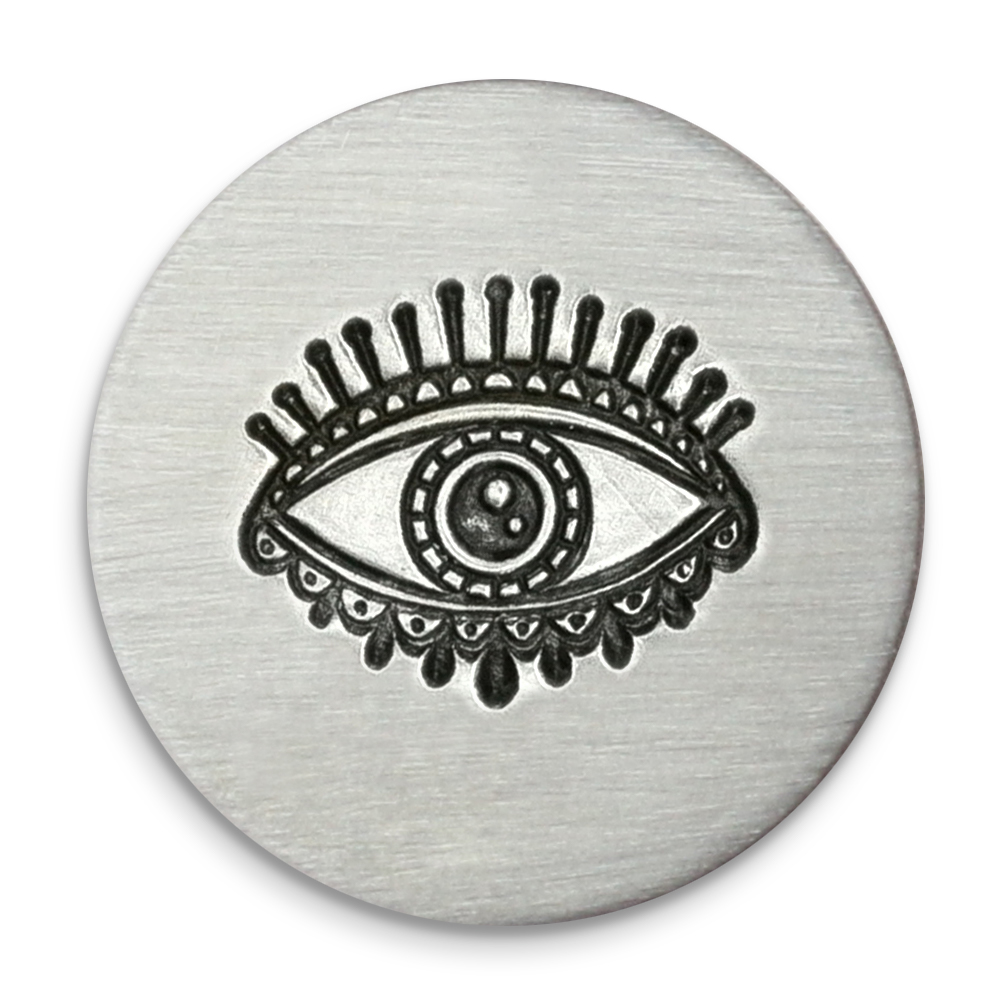
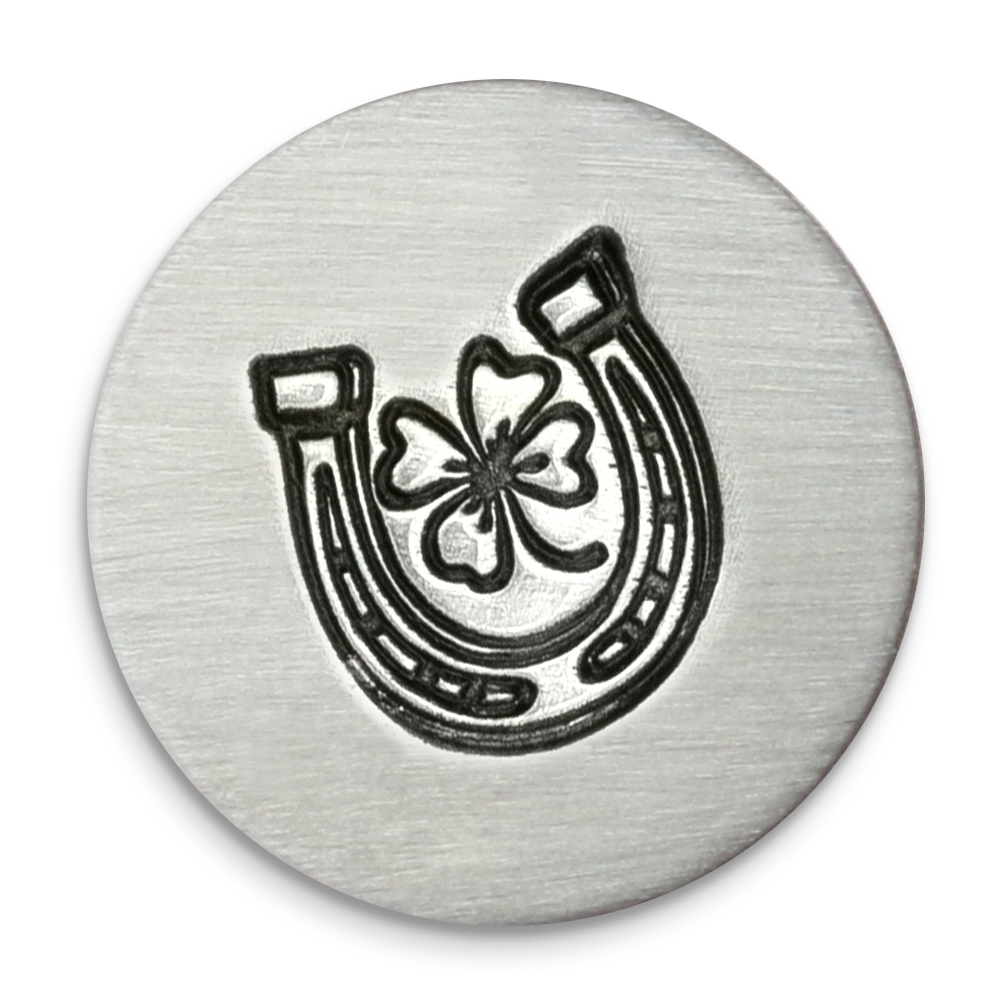
Superstitious, or in search of your lucky charm? Well, you're in luck! Our Good Fortune Ultra Detail Stamp collection showcases the most popular symbols that are considered good luck in many countries and cultures.
When it comes to good fortune...make your own. And after you make it, acknowledge your good fortune by sharing your hand-stamped good luck charm with others.
OPTIONAL: For a more organic feel, use metal shears to slightly snip various areas around the blanks. Use coarse grit on the Matte Finish Buffing Block to soften any sharp edges. Hold the buffing block in the palm of hand and use downward strokes with moderate pressure to file sharp edges. Repeat until edges are smooth to touch.
Note: Be sure not to scratch the surface of the blank.
(Optional) Buff surface of the blank to a matte finish using Matte Finish Buffing Blocks. Use medium grit to create a brushed matte textured surface. Hold buffing block in palm of hand and use even, smooth downward strokes to buff the surface to a matte finish. Repeat until desired texture is achieved.
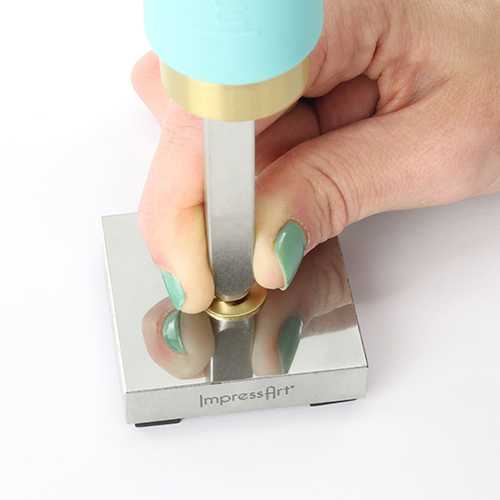
Place a circle blank on stamping block. Position Good Fortune Ultra Detail Design Stamp in the center of the blank. Use the Tilt & Tap technique to stamp 6mm and larger stamps, or stamps with more details. While applying pressure to the stamp, strike once with medium force. Then without lifting stamp, continue to strike while very slightly tilting the stamp in a circular motion to catch all sides of the design. Repeat on remaining blanks with different ultra detail design stamps.
TIP: If the stamp has an ImpressArt logo, make sure it is facing you so that the impression is stamped in the correct direction.
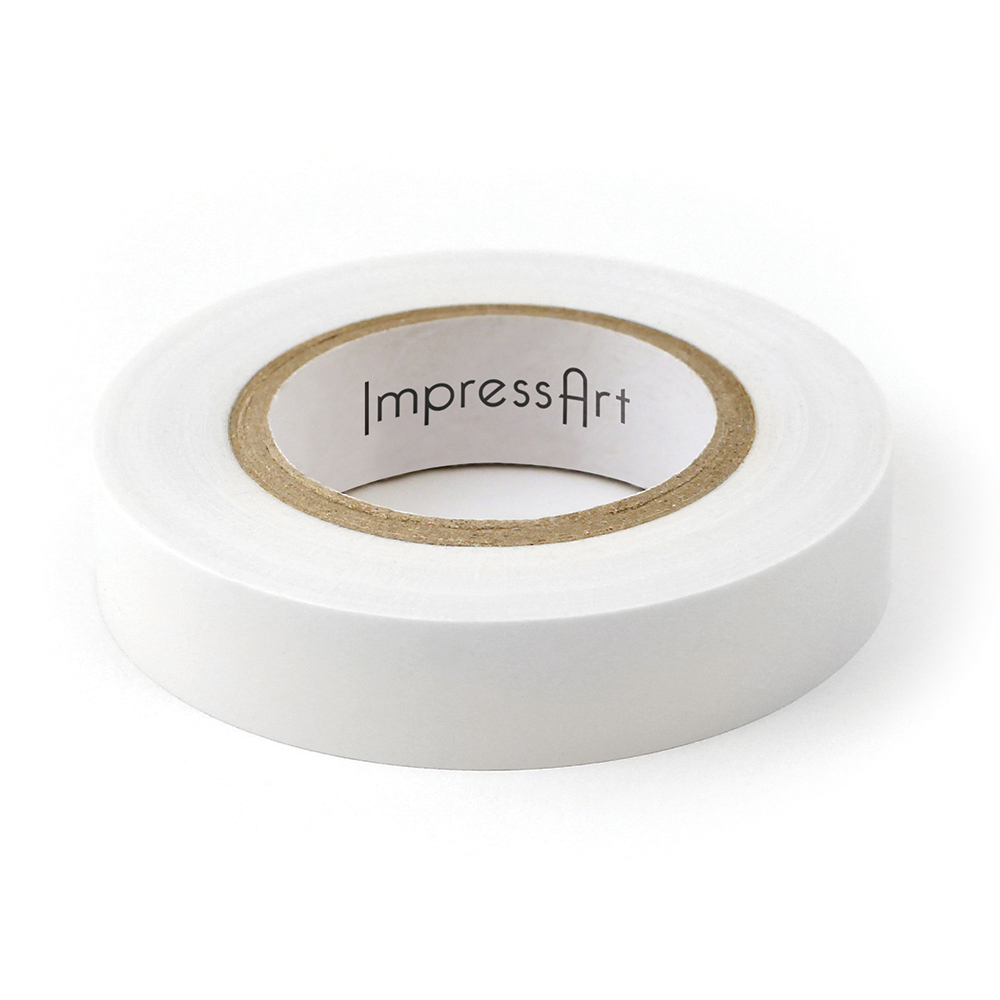
TIP: Use stamp tape to secure the blank to the stamping block so it doesn’t move while stamping.
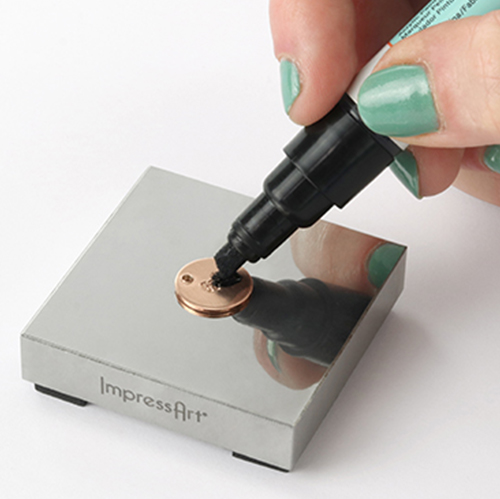
Highlight impressions with Stamp Enamel. Wait 3-5 minutes and then dab the excess enamel into the impressions with a paper towel before lightly wiping it away from the surface of the blanks.
Buff stamped blanks to a brilliant, high-shine finish using High Polish Finish Blocks. Use fine grit to quickly clean and polish blanks. Hold buffing block in the palm of the hand and move the block in even, back and forth strokes to remove dirt and dried enamel left on the raised surfaces. Use extra fine grit for buffing to a high shine. Hold buffing block in the palm of hand and buff in tiny, back and forth strokes with light pressure to get a mirror-like shine. Set polished stamped blanks aside.
Cut a piece of leather cording that is about 20-24inches long. The length of the cord should be about double the length of the finished bracelet plus some to take into consideration of the knots.
Fold the cord in half to find the center for the bracelet. Make an overhand knot ( a basic knot) about an inch from the center on each side. The stamped blanks and additional jump rings will be attached to the leather cord between these two knots.
Overlap both ends of the leather cord. The leather cord should be long enough so when the ends overlap, your hand is able to move it and out of the bracelet comfortably.
Starting with the cord on top, wrap the cord over and around the bottom cord so it creates a loop. Repeat to create 2-3 more complete loops, working back towards where the ends of the cord overlapped each other. Keep the wraps loose, and make sure they don’t cross over each other.
Then thread the cord end over and back through the loop coil created. Tighten the knot by pulling the end of the cord with a pair of chain nose pliers.
Repeat the knotting technique on the other side of the bracelet, working in reverse. Tighten both knots and cut off excess cord. Now you should be able to slide the knots together to lengthen the cord or pull apart to shorten.
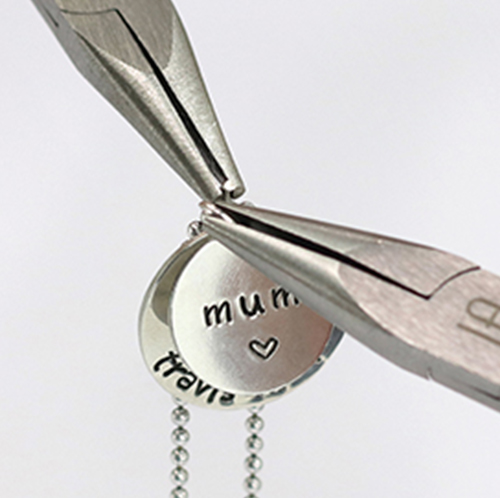
Use the tips of two chain nose pliers to grasp the sides of a jump ring, with the opening of the jump ring facing up between the two pliers. Laterally twist each side of the jump ring in opposite directions to open the ring. Slide blank and leather cord (between the two overhand knots) onto jump ring. Laterally twist the jump ring back with tension to close. Repeat to attach remaining stamped blanks.
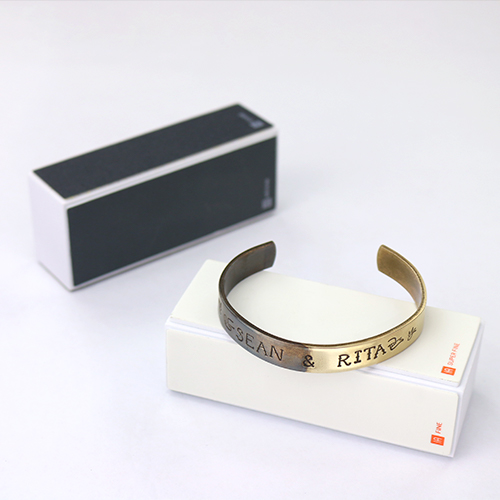
Further personalize your hand-stamped bracelet by adding an assortment of mix-metal and sized jump rings with or without beads as well as semi-precious charms.